
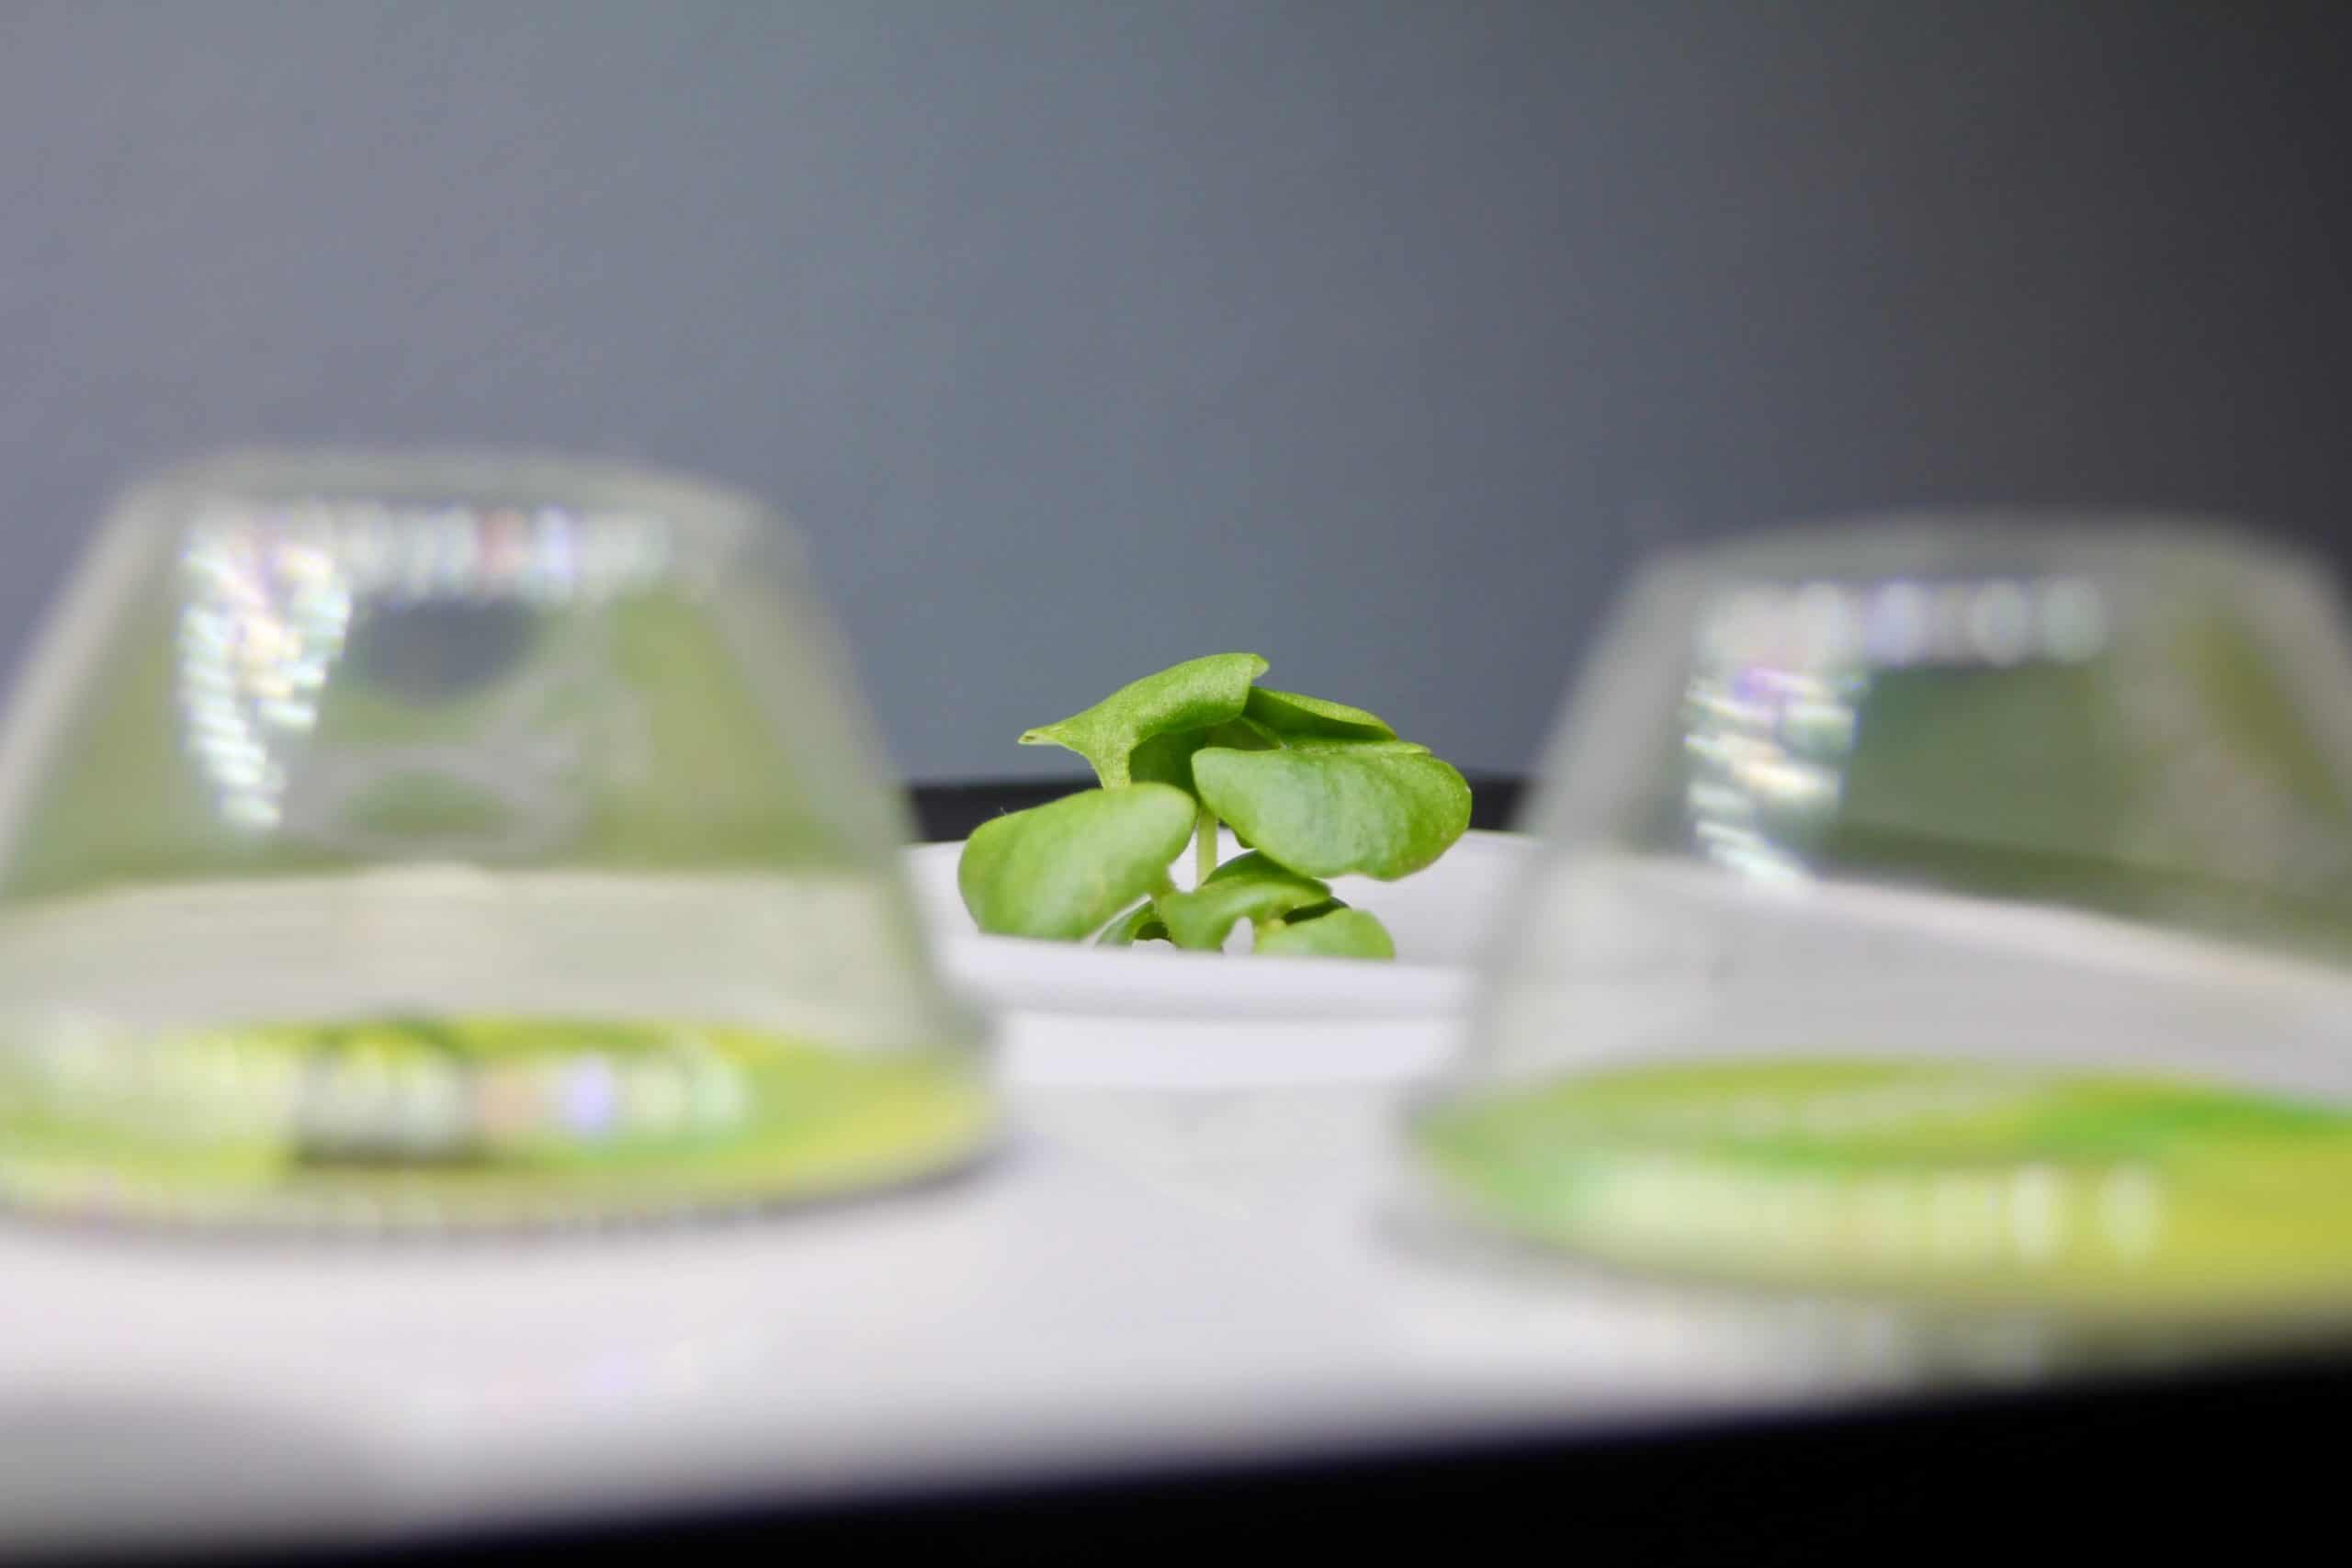
The world has been in an increasing stage of technological innovations. We’ve seen numerous inventions and breakthroughs that help us in many ways. One of these innovations is called the Aero Garden.
It’s a machine that cultivates plants in limited space and a soilless environment. The size of the Aero Garden is small and it is designed for indoor gardening which is known for space limitations. Despite its size, it is equipped with all the essential elements for a plant to grow and it uses similar methods as hydroponics
An Aero Garden’s size can be as large as a refrigerator or as small as a microwave oven. This is to give users the options they need to choose from depending on the available space inside their homes. However, one problem of Aero Garden is the tendency of producing loud sounds that are oftentimes annoying and irritable.
The reason your Aero Garden is so loud could be an Air Stone, or Aerator problem – both of which need cleaning. It could also be your Air Pump (complete replacement) or Water Pump (replacing the filter or replacing the pump) – both of which need regular maintenance and cleaning.
A noisy environment is something most of us complain about. No one wants to be in a place with noise and it’s frustrating if it happens in your own home because of your Aero Garden.
Therefore, this article contains all the possible explanations as to why your Aero Garden is so loud and what are the solutions could be.
Why Is My Aero Garden So Loud?
Aero Garden technology is an efficient and compact machine that imitates a garden in a small space inside your home. Noise problems are commonly found either from the air stone, aerator, or pumps depending on the model you have.
If you have the air stone bubbler model, then the only source of noise is either from the air stone and tubing or the pump. The reason behind this is that the air stone and tubing get plugged with debris over continuous use resulting in loud noises.
Aside from the air stone, another source of noise of your Aero Garden is from the aerator or the air pump. We usually experience this in an air conditioner for example when the air filter is filled with dust. The same is true for the Aero Garden and it tends to produce loud sounds when the aeration system is not cleaned.
If the noise persists even after checking the air stone and aerator, the next things you have to check are the air pump and water pump. The air pump is located at the base of the machine. Carefully check whether or not it is responsible for producing loud noise.
The next thing to examine is the water pump because it too is responsible for producing loud noises if the roots or other debris penetrate inside the impeller. These are the areas you should check if your unit starts to produce a loud noise.
Nevertheless, these possible sources of loud noise in your Aero Garden are solvable.
You just need the right steps for it. For that reason, let’s find the solution to your Aero Garden loud noise.
Aero Garden Sprout Noisy Solution
The mentioned possible sources of loud noise are the air stone, aerator, air pump, and water pump. Hence, we’ll discuss the possible solution to these problems accordingly. Furthermore, here’s additional input on how to keep your unit from producing loud noises.
1. Air stone Problem Solution
An air stone is a device that diffuses air inside the tank, may it be an aquarium or Aero Garden unit. After some time of operation, any debris inside the tank might form in the air stone. This is why they produce loud noises and the best solution to it is a thorough cleaning.
After removing it, you can start cleaning it by using a pair of scrub and freshwater. It is best to use a toothbrush or other small shrubs that can fit inside the air stone for deep cleaning.
It might take some time depending on the condition of your air stone and you should work on scrubbing it until they are perfectly clean.
Another alternative for cleaning an air stone is the popular combination of vinegar and baking soda.
The chemical reaction of vinegar and baking soda combination is known as carbon dioxide gas, sodium acetate and water. After soaking the air stone, get your scrub and start cleaning the inside and outside of the air stone until it is spotless.
The last option for cleaning an air stone is by boiling it for 10 minutes to loosen the clogged debris in the air stone that causes loud noise. After the 10-minute mark, use a scrub or toothbrush to ensure that all the dirt is removed.
Any of the three methods is enough to clean the air stone but you can combine all of them if the condition of the air stone is awful.
After cleaning, make sure that the air stone is completely dry before putting it back. Check the tubing also if there is any debris building up and clean it if necessary.
If the air stone is still noisy, it could be that your air stone needs replacing. The recommended replacement for the air stone provided by the Aero Garden developers is every 6 months. But you can extend the life of your air stone by more than 6 months by just regular cleaning.
2. Aerator Problem Solution
If this is the source of your loud noise, the solution is the same as the previous one—cleaning it. However, this can be tricky because the setup is different on each model, hence there is no universal way of removing the aerator cap.
What you should do is to get the manual book of the unit and find the steps on how to remove the aerator cap.
Once the aerator is removed, you have to clean it using a scrub and freshwater. You can also use the combination of vinegar and baking soda and scrub it thoroughly after soaking. Do not boil in because it might destroy the aerator cap.
Another thing to look for when cleaning the aerator is to see whether or not there is any debris building up in the holes. The build-up blocks the holes creating a loud noise.
You have to soak it in vinegar and baking soda, or you can use a needle or pin to poke every hole and remove any debris.
3. Air Pump Problem Solution
Air pumps might be the reason why your Aero Garden is loud. If this is the source of the noise problem, there is not much you can do about it. You have to call Aero Garden customer service to replace the air pump.
Doing it by yourself might cause damage and that is what you should avoid at all costs.
4. Water Pump Problem Solution
The last on the list is the water pump and they can be the cause of noise problems because they regulate the lifeline of the whole unit.
The solution is similar to the previous ones—all you have to do is clean it. Besides cleaning, doing maintenance work on your water pumps will decrease the chances of experiencing loud noise.
The rule of thumb for cleaning and maintenance of water pumps is that it should be done every month. To do this, here are the steps you have to do:
• Remove the sponge filter
• Remove the roots from the impeller
• Scrub the pump housing
• Use vinegar through the pump if necessary and cleanse thoroughly with water after.
• Replace the filter
When cleaning and maintenance on your water pump don’t work, and it still produces a loud noise; the only viable solution is a replacement.
After replacement, always clean and do the maintenance cycle to prolong the life of your water pumps.
Remember, when reassembling after cleaning – whether it’s the air stone, aerator, air pump, or water pump – to see to it that it is done properly leaving no gaps in it.
The Techniques to Keep Your Aero Garden Silent
Aside from cleaning methods, there are other techniques you may want to try to keep your Aero Garden silent. The following techniques are listed below:
• Schedule the pump
Since pumps are most likely the reason for loud noise and considering that you have performed all the cleaning methods yet the loud noise persists and buying new pumps is way out of your budget. The technique to counter it is by scheduling the pumping cycle when the rest of the house is busy and filled with mundane noise.
The noise all over the house will cover the noise produced by your Aero Garden. Be sure to observe proper timing for the pumping cycle because you don’t want to leave your plants dry.
If you can, you can opt for newer models because they are equipped with mobile app features programmed for pump schedules.
• Keep the water level perfect
The correct amount of water is critical to your Aero Garden. Too much water will lead to loud noise while less water will cause the water pumps to dry and still produce loud noise let alone overheating. Follow the standard level of water provided in the manual of your unit.
• Consider buying bigger models
Smaller models of Aero Garden are the ones that mostly produce loud noises because of their size. That is because smaller models have less storage capacity for water which means it has the lesser ability to absorb the pump of bubbling sounds.
Bigger models of Aero Garden can hold more water and are capable of absorbing the pump and bubbling sounds leaving no loud noise inside your home.
You might want to invest in bigger models if you are concerned with loud noise and the price should not matter because bigger models have bigger space for plants.
However, for those who have smaller models, you can deal with or perhaps prevent loud noises from coming out just by simply following the solutions provided previously.
• Know the right sound of Aero Garden
The only way to find out whether or not your Aero Garden unit is loud is if you know the right sound it should produce.
Aero Garden is not at all silent, just like an aquarium, they too produce a sound coming from the air and water inside. That is the only ideal sound your unit should produce and any sound beyond that is not normal.
The right sound of Aero Garden is around 34 to 38 decibels depending on the number of pumps.
Starting the pump for some unit might produce a louder sound but you should expect a sound right around that number when the pump is already going. You can use the Aero Garden Farm Plus Sound to test the noise in your unit.
• Maintenance is the key
Just like other machines, Aero Garden needs to have maintenance also to ensure that the units are perfectly working and spot any signs of a problem as early as possible.
It’s best to find any problems early than to wait for them to become severe – or may be costly, and no one wants that to happen.
First, remove the growing deck gently if it has plants in it and put it in a place where the roots are safe.
When removing the growing deck, please be careful of the wires and make sure they don’t get in contact with the water. Before putting everything back, check if the wires are wet just to make sure it is all safe and ready to go.
After removing the growing deck, you will now have access to the grow bowl and water pump. You can start cleaning it to remove any debris or fallen roots as these things may build in pumps, air stones, or aerators resulting in loud noise. Change the water if necessary.
You can do all these things after harvesting the plants. It is way easier because you don’t have any more plants to protect while removing the grow deck.
It’s the perfect way to prepare for the new batch of plants, as well as to have a unit that provides a clean and calm environment.
Jenny Marie
Tribal Writer
Edited By
Patricia Godwin