
It is simple to grow chiles in your backyard.
They can be cultivated in various locations, including sunny windowsills, a greenhouse, or directly in the ground. They’re also suitable for container gardening. The vibrantly colored fruits are an excellent way to liven up conservatories or patio areas.
Here we discuss preparing the seeds, planting locations, growing inside, quality of soil, sowing seeds, watering the soil, heat, sunlight, sprouting seeds, transplanting seedlings, caring for plants, harvesting, and more! Everything you need to know to grow chilies from seed.
Step By Step Guide for Growing Chili from Seeds
Growing a chili plant from seed may be a rewarding and straightforward experience. Chili seeds should be germinated in a warm, constant environment, and seedlings in light compost.
Transfer a seedling to a tiny pot with care, keeping it warm and well-watered. As the plant grows, you may move it to a larger container or even into your garden if the weather is warm enough. Regularly harvest the chilies from your plant as a tasty accent to your meals!
Step 1: Preparing the Seeds
1. Select a Variety of Chilies to Use
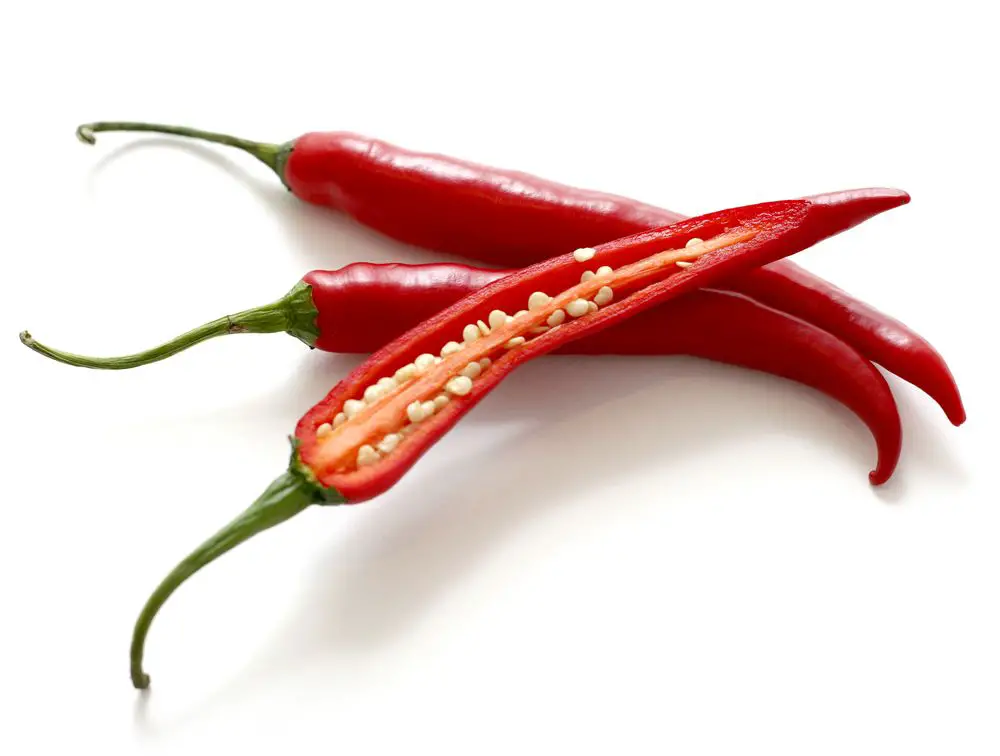
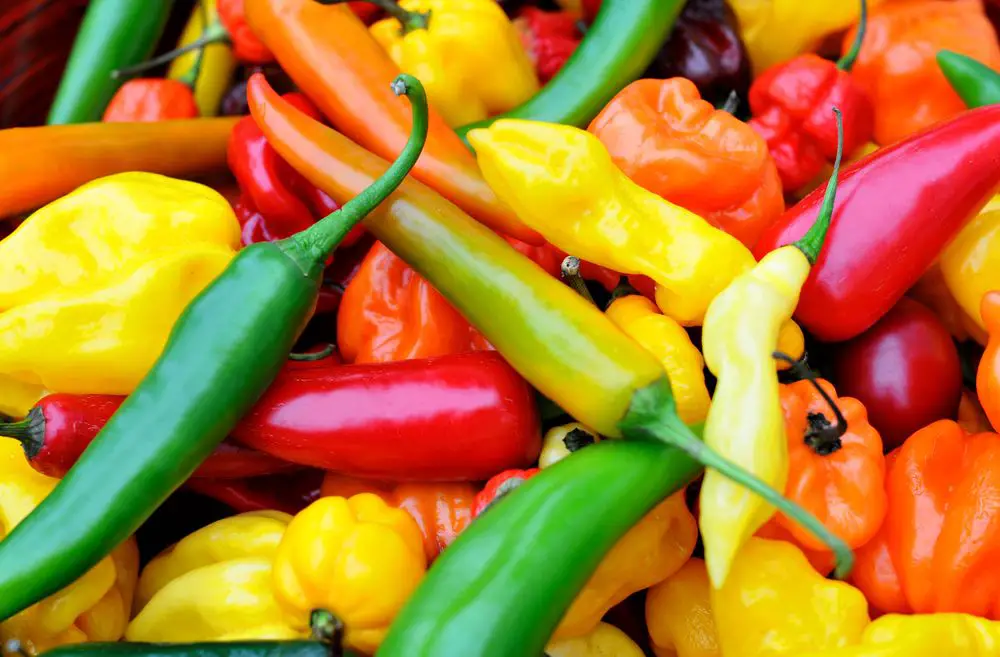
Chilies are available in a diverse range of colors, sizes, flavors, and spice levels, making them one of the most rewarding plants to cultivate in the garden.
You can get them as annuals (which require replanting each year) or perennials (which do not require replanting each year) (grow back on their own). Chilies are also separated into three main categories: sweet, fiery, and decorative.
All three varieties of chilies have some amount of spice. However, sweet chilies are the mildest, decorative chilies are beautiful in their colors and forms (but can be quite hot), and hot chilies are mainly utilized for their powerful heat and flavor more than their appearance.
Chilies come in various colors ranging from green to butter yellow to peachy orange to fire-engine red to plum and a pitch-black tint. Color does not necessarily correspond to chili pepper’s flavor or heat degree, as is commonly believed.
Visit a local nursery to learn more about which varieties would thrive in your particular region and climate.
Some chilies are utilized for specific cuisines; for example, Serrano chilies are mainly used in Mexican meals, whereas habanero peppers are prevalent across Latin America and Mexico Calcutta pepper is used in Asian sauces.
2. Decide on Most Suitable Location for Planting
Considering that chilies are heat-loving plants, it is most likely that they will thrive in locations with abundant of sunlight. Choose a location in your garden that receives full light, or at the very least most of the sun, for the bulk of the time of year.
If you reside in a desert environment, you may need to choose a position that provides some shade so that the chilies do not become sunburned throughout the growing season.
Even if you live in a rainy climate, try to choose a place that receives plenty of sunlight and adequate drainage; too much water can drown out the chiles and produce fewer fruits.
3. Determine If You’ll Begin Growing Chilies Inside as Early as Possible
You may benefit from growing your chilies indoors in pots during the winter and then transplanting them outdoors when the weather warms up if you don’t live in one of the traditional chilies growing zones.
Although you may put your seeds directly into the ground, you may not have as good a chance of seeing them sprout as you would if you started them inside and transplanted them as seedlings first.
You can grow chilies from seeds or plants purchased from nurseries, but the former will provide you with more fruits and vegetables.
It is simple to start seedlings; all you need to do is plan ahead of time, at least six weeks before transplanting the chilies outdoors.
Chilies can be replanted outside once the last frost date in your area has passed.
4. Improve the Quality of Your Soil
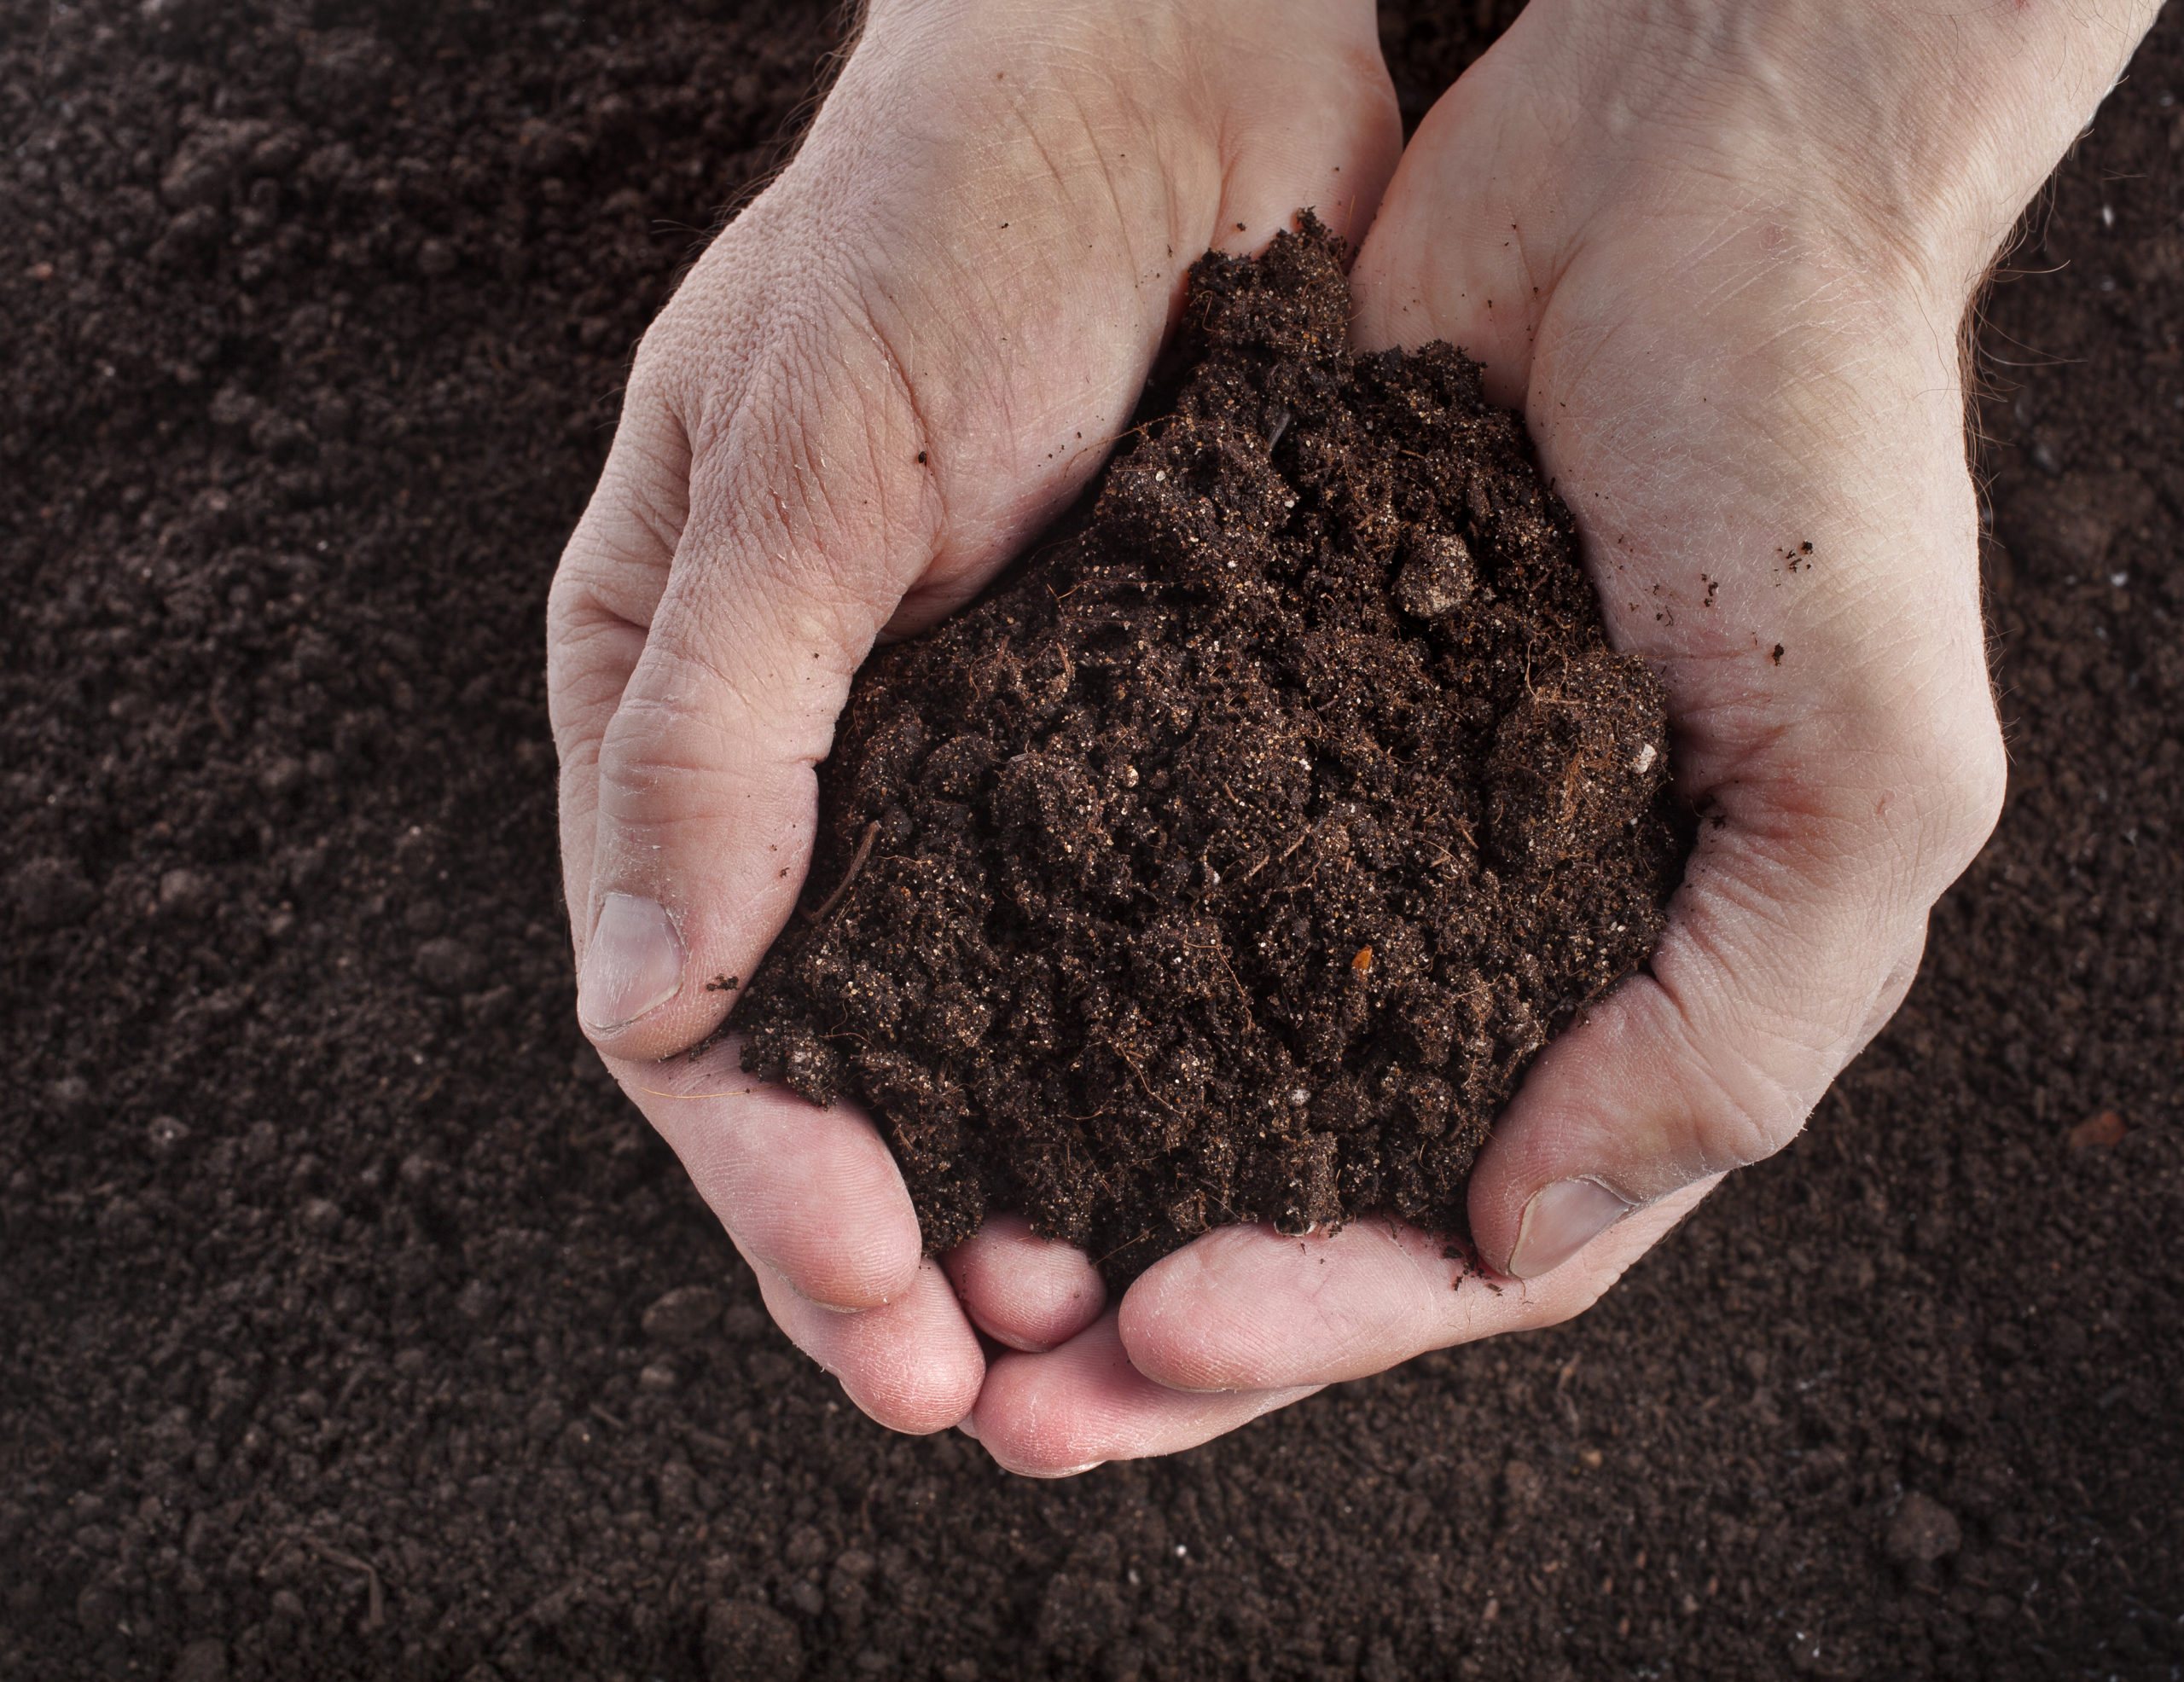
You may need to make minor adjustments to the soil in your garden to produce the most significant, healthiest, heartiest crop of chilies. Chilies grow best on soil that drains well and contains a high concentration of nutrients.
Make use of organic matter such as compost, which should be added a few weeks or months before planting to improve drainage and improve the overall quality of your soil.
If your soil has poor or mediocre drainage, you may include a tiny amount of sand into the mix. If potassium is not already present in adequate quantities in the soil, increasing the quantity of potassium will result in a large rise in plant growth. Always do a soil test first.
Alternatively, if your soil lacks potassium, you should visit a local nursery to select a fertilizer that contains a high concentration of potassium but minimal nitrogen (like a 0-20-0 blend).
Analyze the pH of your soil and determine whether or not you need to make any more modifications; chilies thrive in neutral or slightly acidic soil (6.5-7.5). The more time you have to prepare your soil, the better your chilies will grow.
Step 2: Sow the Seed
1. Prepare the Seeds in the First Place
You may soften the covering of the seed by wrapping it in a moist paper towel or plastic bag to make it simpler for the new growth to penetrate it.
Wrap each seed individually with a moist paper towel and place it in a zip-top bag with the seeds inside the bag.
Place the bag in a dry, warm location, such as a cabinet in your kitchen, and let it there for two to five days before removing the contents. Within this time frame, the seeds should begin to sprout, at which point you can transplant them.
2. Sow the Seeds in Small Containers to Start the Process
You may either purchase seed trays for your seedlings or just use separate planting pots for each seed to start them from seed. Fill each tiny tray or container with the soil you’ve collected (already amended with fertilizer and compost).
Once you have your seeds in each container, you should plant one seed about 12 inches below the soil’s surface in each one.
3. Make Sure the Seeds are Well-Watered
A regular watering schedule will be necessary to ensure that the soil remains wet at all times while the seeds are growing.
After you’ve planted your seeds, give them the most water possible, and keep giving around a teaspoon of water every day until they’re fully grown.
4. Place Them in an Area That Receives Plenty Amount of Heat and Sunlight
If you’ve previously planted seeds, you likely have a heat lamp on hand; heat lights are ideal for assisting your seeds in expanding swiftly.
If this is not the case, set your seeds in a spot that receives plenty of sunshine, such as a south-facing window and plenty of heat near a heater.
Just make sure the seeds aren’t exposed to extremes of heat or cold since either will result in little or no development.
5. Keep an Eye Out for the Seeds to Sprout
Seeing the seeds germinate for the first time will take anywhere from a few days to a few weeks.
To begin, the seeds will sprout a pair of leaves, which are referred to as ‘seed leaves.’
After a few days, the second pair of leaves will appear; these are known as the “real leaves,” and they indicate that the chilies are ready to be transplanted into their final location.
You may either continue to wait for them to grow and the temperature outside to rise; or you can plant them as-is when their actual leaves appear.
6. Before Transplanting Your Seedlings, You Should Harden Off Them
Indoor-grown seeds are used to a consistent temperature with little fluctuation; when released into the ‘wild,’ they might experience a little culture shock due to the varied temperatures, moisture levels, and shifting sunshine patterns.
Harden them off by putting their pots or trays outside for a few hours each day for a few weeks.
Start with merely 2 hours a day for approximately a week, and then gradually increase the amount of time they spend outside by one hour for each subsequent day they are exposed to the elements until they can withstand being outside for a complete 24 hours.
They are now capable of being transplanted outside without experiencing any ill effects.
Step 3: Planting the Seeds in the Ground
1. Plant at the Appropriate Timing
Wait until after the last frost of the spring season has passed before planting outside, which is normally around March or April depending on your local temperature. It is best to plant on a bright day in the late morning or early afternoon when it is not too hot to avoid the occurrence of transplant shock.
2. Make Holes in the Ground
If you are planting seeds directly outside, you should put them one at a time to prevent overcrowding the plants with other plants. Using a garden trowel, make tiny holes that are somewhat bigger in diameter than your seed or root ball.
It is recommended that you place them approximately 1 foot (0.3 m) apart, but depending on the variety of chili you are planting, the distance may need to be increased.
Investigate the chilies you’re growing to determine the optimal spacing circumstances for your harvest.
3. Plant Your Chilies in the Ground
Fill each hole with a chili plant or seed that you’ve already excavated. Make sure that just about a 14-inch layer of dirt is covering the tops of the roots or seeds, and then repeat the process.
When you’re finished, don’t tamp or press down on the earth too hard, since the chilies will grow better in loose, well-draining soil than you may expect.
4. Keep Your Chilies Well Watered
According to the USDA, chilies will grow in soil that is damp but not dripping wet.
After the first planting, give the chilies a little additional water to help them adjust to their new environment.
Afterward, water them regularly to ensure that the soil is moist. Increasing the sweetness of sweet peppers grown in a regular garden is possible by providing the plants with more water than normal.
5. Keep the Plants in Good Condition
Given that it will take a month or longer before the chilies begin flowering and yielding fruit, you will need to ensure that they are in good health.
Ensure that you remove any weeds that you come across since they will take up valuable growing space and nutrients from your chilies if left unattended.
Compost and potassium fertilizer should be added to the soil regularly to ensure that nutrient levels remain high.
Additionally, you may apply a layer of mulch to the top of the soil to help retain moisture while keeping weeds at bay.
According to the sort of chilies you are growing, you may need to construct a trellis to support them. Using a trellis to support your bell pepper plants, for example, will improve their performance.
6. Chilies Should Be Gathered
The time it takes to harvest chilies can vary according to the species, but you can normally tell when they’re ripe by their size.
Chilies will change color as they mature, so unless you are certain of the color of the ripe chili, don’t depend on color as an indicator of freshness.
Check out the chili’s flavor before you decide whether or not it’s ready to be harvested.
Then you’ll know if it needs to continue developing for a little longer or whether it’s ready to make its culinary debut in your home or restaurant.
For best results when making chili powder or pepper flakes from your peppers, allow them to shrivel and dry naturally on the branch before collecting them.
Stages of Growing Chili Plants
Stage 1: Germinating Chili Seeds
Chilies can be germinated in the same way as any other seed.
Place the seed between two sheets of moist kitchen roll and place it in either a sealed freezer bag or a plastic container to aid in the germination of the seeds. Put the bag somewhere warm, such as in an airing cupboard or on top of a refrigerator, to keep it from freezing.
This strategy will aid in the retention of heat and moisture surrounding the seeds, resulting in a faster germination process overall.
After 2-5 days, you will most likely see that some of the seeds have swollen up and may even be sprouting at that point. It is now time to start sowing the seeds.
A heated propagator is ideal, but if you can keep the seeds in your home, where the temperature is warmer and more consistent, an ordinary seed tray should do the job just fine. The choice of the Mots gardener is to utilize little seed modules since they make it extremely simple to transplant and pot the seedling on later in the season.
You may, of course, take the simpler route and just put your chilli pepper seeds directly into the compost pile. It’s important to remember that various types germinate at varying rates.
Growing habanero peppers, for example, might take up to 3 or 4 weeks to germinate, other milder kinds such as cayenne would germinate considerably more rapidly.
Try to space your chilli seeds around 5cm apart in a typical multipurpose compost, ideally combined with some vermiculite, while you’re sowing your seeds. Then, using a fine rose or spray, lightly cover the seeds with about 0.5cm of compost and water them in thoroughly.
Check them once a day and mist them with a little water if they appear to be getting too dry. Instead of trying to keep the compost moist, the goal is to avoid drying out completely.
Heat and moisture are the two most important requirements that the seed has at this stage of development. Even though the optimal temperature for germination varies from species to species, it may generally be estimated to be 23-30 degrees Celsius (about 73-86 Fahrenheit).
Maintaining the temperature of your chilli seeds at a consistent level can help to boost their germination efficiency. The most effective method for accomplishing this is to utilize a heated propagator.
If you don’t have one, any location in the house with a steady low-level heat source can suffice, such as the top of the refrigerator, for example.
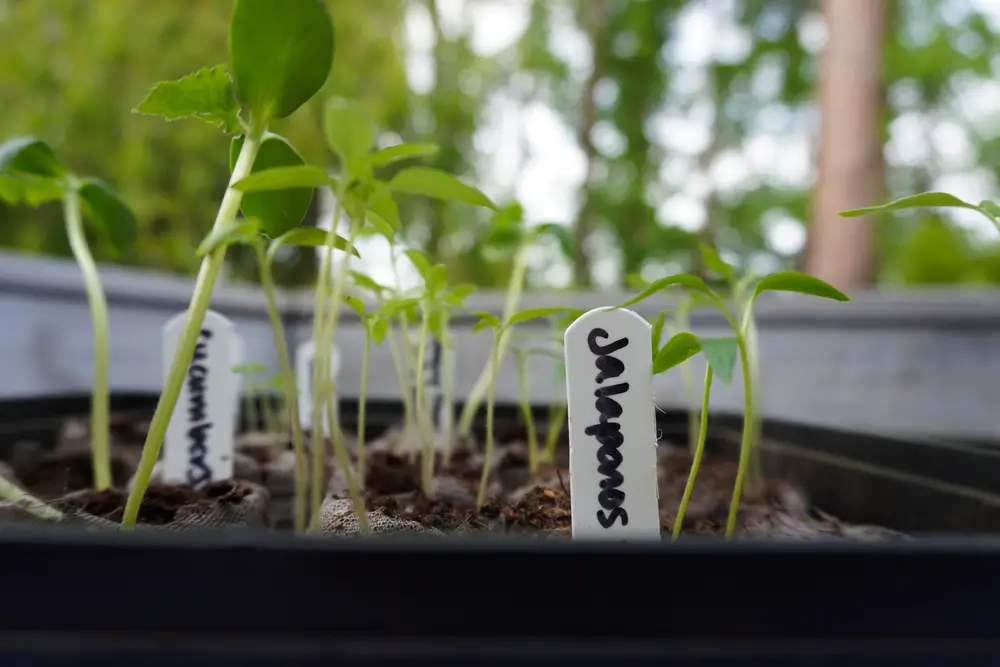
The amount of time it takes for seeds to germinate varies substantially from variety to variety. More popular types, such as Apache or jalapeño, often germinate in 1-3 weeks, depending on the variety. It may take up to 6 weeks or more for some finicky kinds, such as the Habanero, to germinate.
Stage 2: The Post-Germination Period
Once they raise their heads above Ground, your seedlings are immediately faced with a new necessity: sufficient sunlight.
Growing up in a northern environment, such as the United Kingdom, might provide a greater difficulty. Window sills or conservatories may be sufficient depending on where you live and what direction your windows face.
They may also give sufficient light for your seedlings to thrive and develop. One disadvantage of growing plants is that when they reach upwards towards their light source (the sun), they might become tall and spindly.
Grow lights, often known as fluorescent lights, are a type of artificial illumination that farmers use to keep their plants from becoming lanky and leggy.
In the world of lighting, there are many complex and often expensive solutions with many distinct terminologies such as HID, Envirolights, EPS, Grow lights, and so on.
The one disadvantage of fluorescent lighting is that it emits a lot of heat, which can scorch or even kill seedlings if they are not properly protected. Cool white bulbs, which are designed to eliminate this problem, can be used to solve it.
According to the observations of various gardeners, most light fixtures will come with standard bulbs; thus, it is recommended that you spend an extra couple of pounds on cool white bulbs.
After that, all you have to do is hang the lights above your chili seeds to grow them.
Keep in mind that anything you use to place your lights should preferably be movable since you will need to raise them as your small seedlings grow into huge, robust chilli plants.
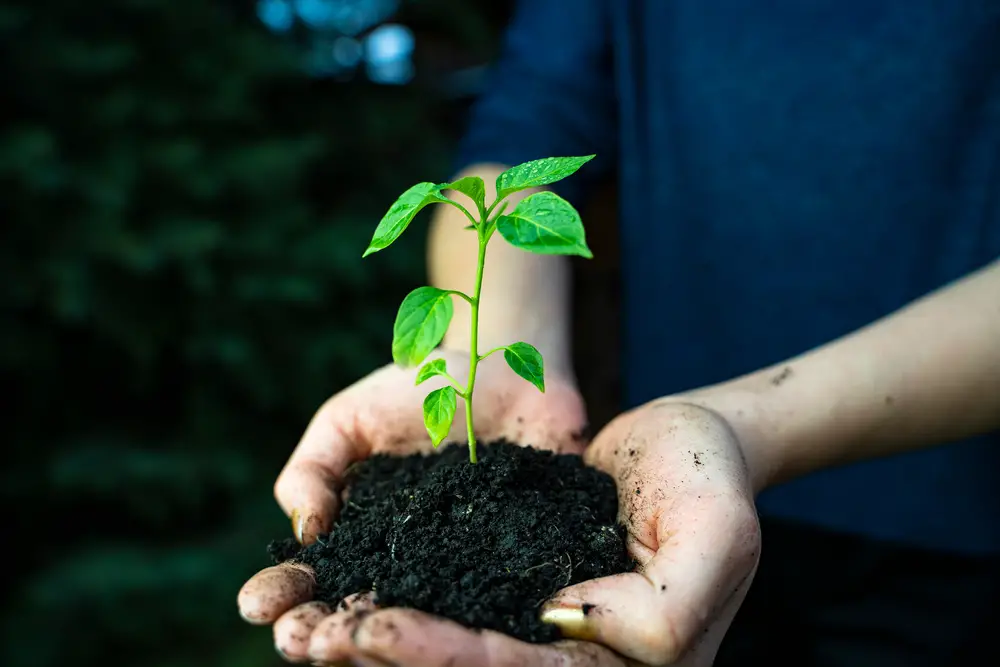
Stage 3: Putting Your Chili Plants in Pots/ Putting Your Chili Plants Outside
When the seedlings have established their second set of leaves, it is time to re-pot them in their original containers.
During the potting-on operation, exercise extreme caution to avoid damaging the seedlings. To avoid toughing them out completely, re-pot the compost area surrounding the seedling’s roots after they have established themselves. Hopefully, you will be able to prevent injuring the plant’s roots as a result of this.
What kind of pot you use isn’t that significant. While the plants are still small, you may save money by using old yogurt pots or recycled plastic drinking cups. The selection of the potting media is of more relevance at this stage of the process.
In the same way, depending on the time of year, your location, and the quantity of light available, you may maintain the plants on your windowsill, in a greenhouse, or under artificial illumination.
Pepper plants thrive in bright sunshine, and the more of it they receive, the faster and stronger their growth will be.
If you have a limited amount of room inside, one of the various tiny greenhouses is highly recommended. These are available for purchase for only a few pounds, and while they may not survive indefinitely, they will protect your chili plants in the early spring.
After many weeks, depending on the sort of chilies you have, you will most likely need to repot the chilies once more.
It is best not to pot on your plants too soon after starting them. This can direct the plant’s growth toward the development of its roots rather than its stems, leaves, and flowers.
It is generally recommended to only increase pot size when roots are visible through the drainage holes located at the bottom of the container.
As soon as there is no danger of frost, you may move the plants outside. Initially, you may wish to harden them off by leaving them outside for a few hours every day for a few weeks. This will progressively acclimatize the plants to direct sunshine and wind exposure over time.
Your plants may be more sensitive to pests such as aphids during their early stages of growth. If you want to learn more about how to maintain your young plants healthy, check out our post on pests and diseases.
Stage 4: The Blooming of Flowers and the Bearing of Fruit
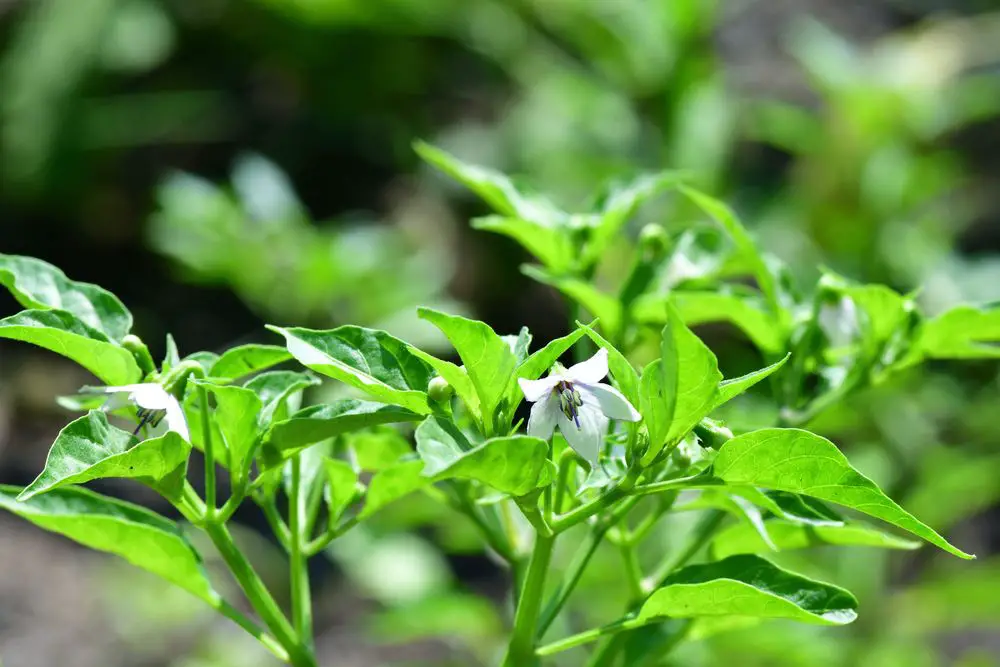
Pepper plants will begin to bloom as they mature, and you will notice flowers starting to appear on your plants. Because it indicates that your first chilies are not far away, this is the signal you’ve been expecting to see. Pollination is the only thing standing between you and a fresh batch of chili pods.
Keep in mind that different types of pepper blossom and produce fruit at different times of year and throughout different seasons.
Cayenne and jalapeno variants mature earlier and more quickly than kinds like as habanero, scotch bonnet, and Naga, which mature later and slower.
Slower-growing types require more heat and light, and it is better to grow them in a conservatory or greenhouse to provide the finest yield possible.
If your plants are cultivated outdoors, pollination will be handled by bees and other insects naturally. If you are growing your plants inside, you may notice that they are losing their flowers.
Alternatively, you might wish to explore hand pollination your plants if this is the case. Don’t be concerned, this is not as heinous as it may appear. Simply rub your little finger within the flower heads of your plants to do this.
Conversely, a small artist’s paintbrush or a cotton bud might be used. This will do the bees’ function in transporting pollen from blossom to flower.
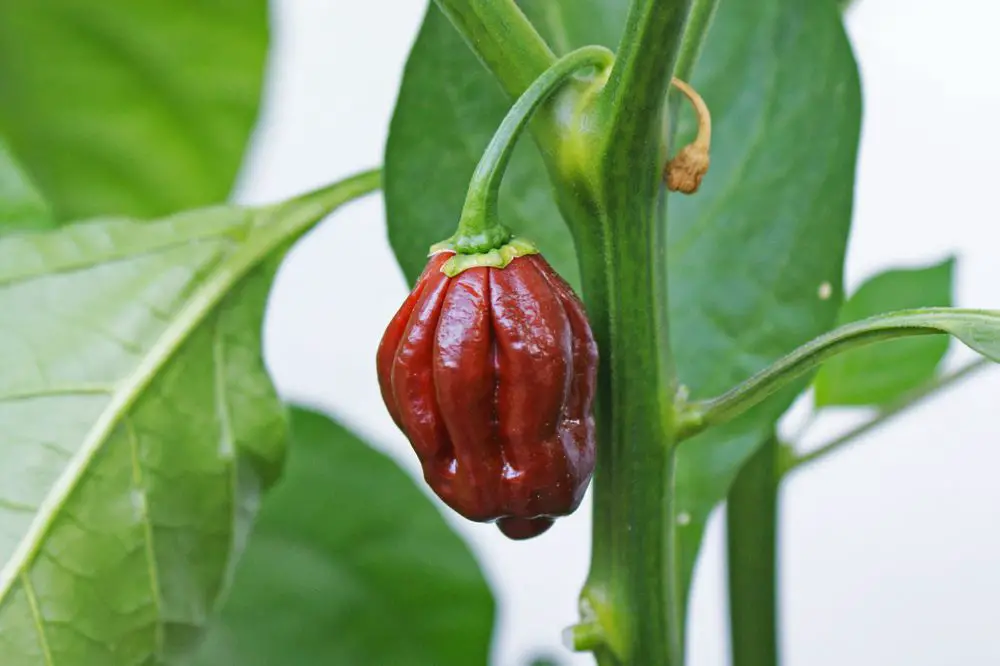
Eventually, you will notice that some of the flowers have turned brown and have fallen off the plant.
In most cases, there is no need to be concerned because the source will be a chile forcing its way through the blossom. All that remains is to maintain the water and food supply while waiting for your chilies to mature.
Stage 5: Harvesting Chilies
Peppers are often collected when they are still in the immature stage. While the typical bell pepper is picked green, the majority of types will develop to be red, orange, or yellow in color when mature.
Even though peppers may be harvested at any stage of their growth, their flavor does not fully emerge until they reach maturity. When it comes to home gardening, this might provide a problem.
When peppers are harvested often, yields are increased, but the flavor of the peppers is not enhanced when the peppers are allowed to mature on the plant.
How can you tell if a full-size pepper is ready to be harvested and when it is not? If you believe the pepper is ready, remove it off the plant and taste it before proceeding.
Does it have a green and bitter flavor? After that, you’ll have to wait even longer to harvest and enjoy another pepper.
Does it have a pleasant flavor? Then this is the appearance you want all of your peppers to have before you remove them from the plant.
Taking Care of Your Chilies Grew from Seeds
Watering
Water the plants regularly. During dry periods, bath them for an extended period twice a week. Keep the soil slightly wet but never muddy by watering it occasionally.
Don’t overwater your plants! Between watering, allow your soil to dry out. Watering from above may stimulate the growth of mold and other plant diseases.
Thus, it is recommended to water towards the base of the plant and in the early morning hours instead. Drip irrigation on a timer is the best option.
Weeds should be handled with care. Add a few inches of organic mulch to the garden bed, such as composted wood chips, straw, or leaf detritus.
Keep weeds at bay, and the soil will remain warm and moist at the same time. When growing peppers, this is a must.
Fertilization
Peppers are a low-maintenance plant, but they will benefit from regularly feeding them with a well-balanced organic fertilizer or compost tea to keep them healthy. Using fertilizers that are heavy in nitrogen should be avoided. They grow rich foliage but inferior peppers.
Compost
Peppers are enormous fans of compost! Adding enough of high-quality compost to your vegetable garden can assist to improve the soil in your garden, just as it will with all veggies. Compost is essentially free fertilizer provided by nature!
Pollination
Proper pollination is crucial to developing excellent peppers. By planting many flowers in your yard, you may encourage the presence of bees and other helpful insects. Pesticides should not be used!
Please make certain that the peppers are planted in an area with sufficient air circulation and that they are appropriately spaced.
In some cases, human pollination may be required if your pepper plants are producing flowers but not fruit.
Apply a tiny, clean paintbrush to the center bud of each flower, gently brushing it in place. The goal is to distribute pollen from one bloom to another across a network of flowers.
Keeping an Eye Out for Diseases and Pests that Might Harm Your Chili Plants
Unfortunately, chili pepper plants are susceptible to various illnesses and pests, some of which are listed below.
Blossom end rot is a disease that can harm chilies that arises when calcium levels are low, due to inconsistent watering, or as a result of high temperatures and humidity.
These plants are also susceptible to root knot disease, which is another disease that can impact them. As the name implies, the roots of the plants get tangled, resulting in nutritional deficits and withering of the plants.
Among the pests that can infect chili pepper plants are aphids, leafhoppers, and whiteflies, parasitic on the plants. These pests eat away at the plants and can transmit viruses to them, which can cause significant harm.
Aphids can be found on the undersides of newly developed leaves, where they can cause spotting and other symptoms of the disease.
Leafhoppers are also capable of causing spots.
Whiteflies have a similar influence on chili pepper plants as aphids, and they might cause the plants to develop at a slower rate than usual.
Keep an eye on your chili pepper plants to ensure that they are growing correctly. If you discover any bugs, get rid of them as soon as possible.
Heavily afflicted plants will need to be removed from your garden altogether since they can spread the disease to the remainder of your crop.
A Brief Overview of the History of Chilies
Everything about chiles can be traced back to a single little wild pepper that blossomed in Central and South America roughly 7,000 years ago and has since spread worldwide.
Because of the spiciness, Christopher Columbus gave them the name “pepper,” even though black pepper, which is not related to chilies, was used to describe them.
The plants were taken back to Spain on one of Columbus’ ships, where they were favorably accepted and spread across the European countries that had colonized the continent.
Their journey continued to Southeast Asia and the Middle East, where they became a common ingredient in many regional dishes, which explains why they are frequently connected with ethnic food.
Although certain colonies favored them over others, chilies were a popular crop among colonial Americans.
Cayenne peppers were grown by George Washington and Thomas Jefferson, two of the nation’s founding fathers, who were both members of Congress.
The Southwest of the United States and New Orleans and its surrounding areas were the country’s regions where these peppers gained the most popularity.
Final Thoughts on How To Grow Your Chilies from Seed
There are many different types of chilies, which can significantly influence hotness.
There’s a chili seed for every occasion, whether you’re looking for taste, fire, or color.
Homegrown chiles can range from sweetly mild to intensely spicy in heat. Some palates may find chilies slightly spicy, while others may be scorched.
We hope our comprehensive guide to growing your chilies from seed is everything you need to spur you on to success. Happy gardening!
Read More:
Ghost Pepper Plant (All You Need to Know!) 
Habanero Plant – 10 Easy Tips to Grow Better Habañero Peppers