
Aloe Vera plants are succulents that grow well in rockeries and flowerbeds. They also grow well indoors. If you notice your aloe is growing long stems, repotting an aloe that has developed along the stem is a simple task.
Aloe Vera plants are succulents that are popular for their many medicinal uses and health benefits because they have strong anti-inflammatory properties. The juice of their leaves and flesh work as a topical anesthetic or cooling gels. The gel is also good for the skin.
Aloes look good in gardens. But when they start sticking out of its soil, it means they have developed long stems. When this happens you will have to repot your aloe plant.
Interesting Facts about Aloe Vera
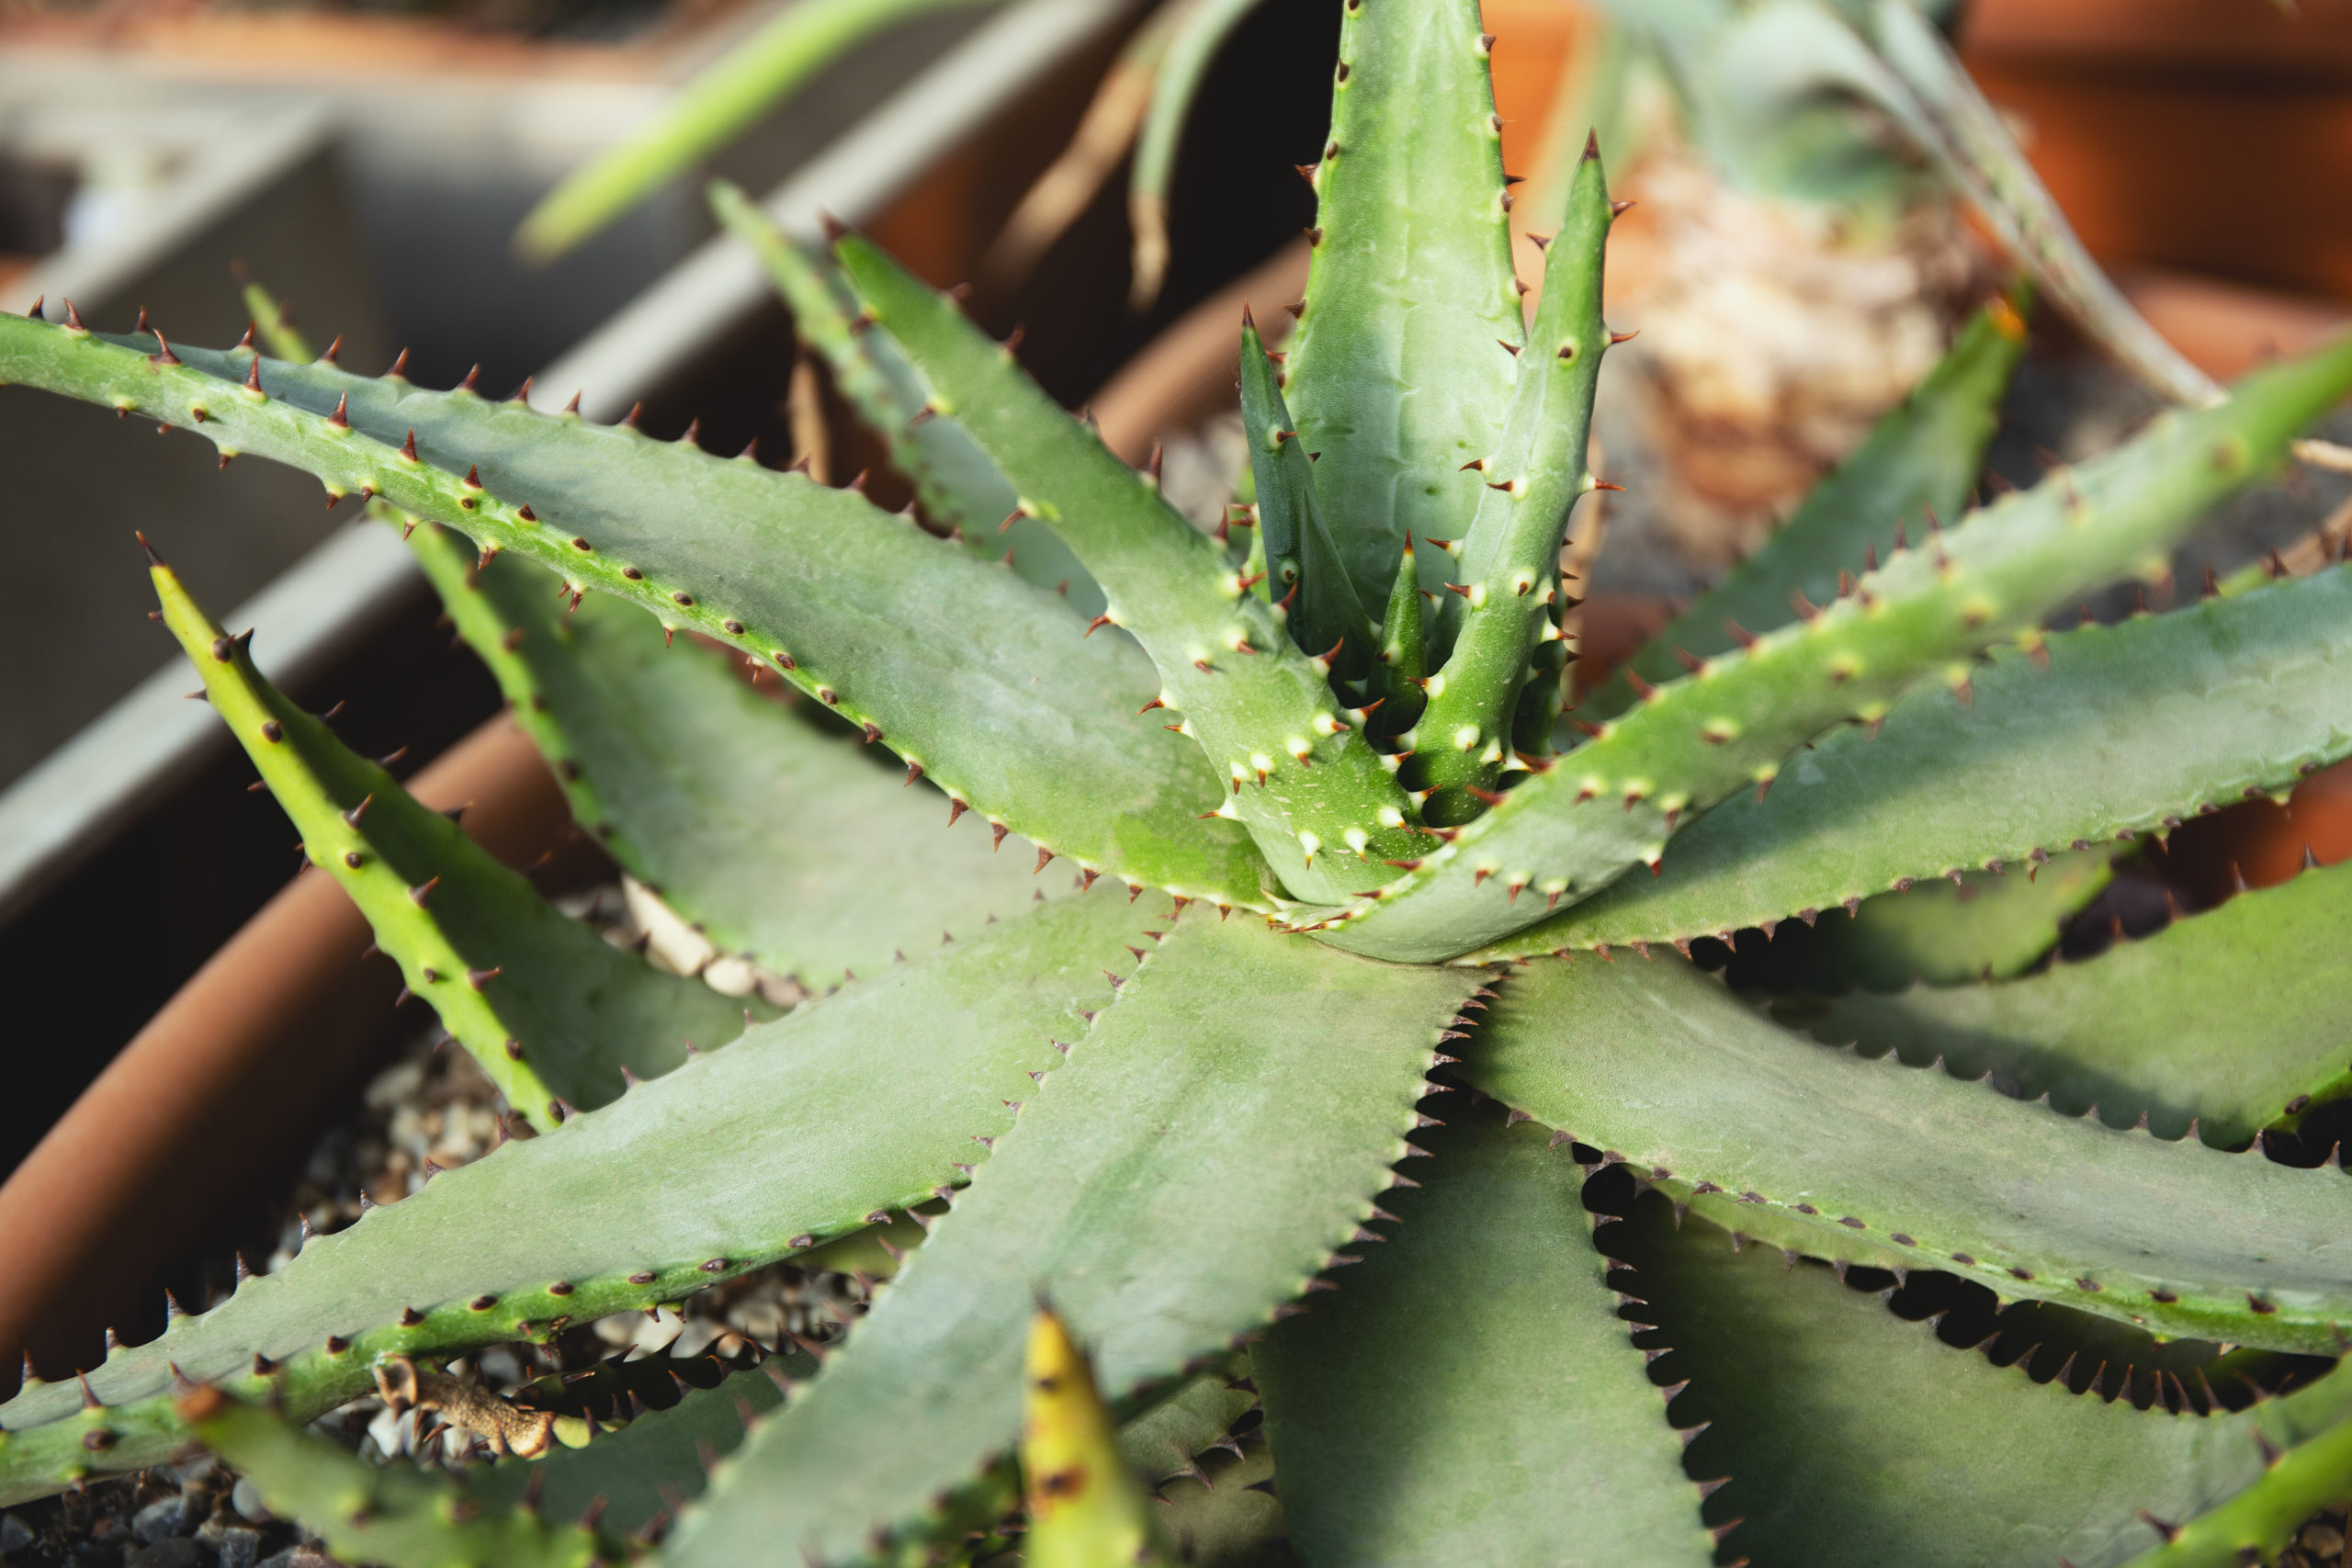
Aloe Vera is a stocky and short plant. It comes with flesh, thick, and long leaves. Depending upon the growing conditions and plant variety, its leaves stick out from the stem of the plant up to about 30-inches.
The aloe plant loves tropical and hot climates. It is drought-resistant, too. This plant needs to be placed in your home and garden where it can get bright, indirect sunlight. Planting aloe in the full sun will dry out the plant and make its foliage turn yellow.
Signs that Show Aloe Vera Needs Repotting
The aloe plant is known for having firm stems. It, however, needs repotting when it starts to tip over due to its heavy and long stem. When its stem gets to be too heavy and starts to lean over, providing support to make it straight will not work. This is the time when you need to repot your aloe plant to a bigger pot or in the garden.
Repotting aloe looks simple but you have to take extra care because you may damage the plant. You need to use a repotting method that will not disturb the roots of the aloe plant too much.
Here are some of the reasons your aloe plant has developed along stem:
• Too little light
Your aloe will develop a long stem when it lacks light. The aloe plant loves sunlight and It will stretch its stem so it can get as much sunlight as possible.
Repot the aloe plant and place it in a west or south-facing windowsill when indoors so it can develop firm and strong stems.
• Overwatering
Too much water will make your aloe plant develop a long stem and droop. The aloe plant is used to very dry conditions and knows how to conserve water in its stems.
• Growth of new pups
You will also need to repot your aloe when it starts to develop pups. Pups are offshoots of the mother plant. They are smaller plants that can survive as full plants while still being attached to the main root system of the mother plant.
If the mother aloe plant is starting to have a long stem, is dropping, and is surrounded by smaller pups, it is time to repot it.
Aloe is one of the easiest houseplants to grow and care for. Repotting your aloe plant, though can sometimes be a necessity.
How to Repot Aloe
There will come a time when your Aloe Vera will outgrow its container. While it is alright for your aloe to overcrowd its pot, its long stems may cause the sides of the pot to crack and eventually break.
Here is how you can do repotting an aloe that has developed a long stem.
1. Prepare a New Pot
• Select a new pot. Choose a pot that is about 2 to 3 times bigger than the roots of your aloe plant.
• Rinse the pot well.
• Allow the pot to dry.
• Cover the drainage holes of the pot with screens so gravel or pellets do not fall out of the pot when watering. Use a screen (wire screed) that allows the unhindered passage of water.
• Add an inch layer of clay pellets or gravel to the bottom of the pot.
2. Prepare the Aloe Plan
• Remove the aloe plant from its container. If your aloe easily comes out of the pot, shake out the remaining soil on the roots.
• If the pot is curved or has a lip at the top, break open the pot so you can get to the plant’s root system.
• Remove any pups.
3. Trim the Aloe’s Stem
• Trim the long stems of the aloe plant. Make sure to leave as much of the stem as possible.
• Place the bare aloe plant in a spot with indirect sunlight.
• Continue with repotting your aloe when you see callous forming around the portion where you trimmed the stem.
4. Pot the Aloe
• Fill half of the new pot with potting mix.
• Place your aloe in the center of the pot.
• Fill the area around the roots of the aloe with potting mix leaving about 1/2-inch from the rim of the pot and making sure the leaves of your aloe are resting above the surface of the soil.
• Lightly press down the soil so you can push air pockets out of the growing medium.
• Allow the roots of the aloe to settle in its new pot. Do not water the plant for the next 7-10 days. Water your newly repotted aloe thoroughly when it can already be watered. Make sure water comes through the bottom of the pot.
Typically, you should only water your aloe once or twice a month. It is better to keep your aloe on the dry side. It is better not to water your aloe when in doubt whether to water it or not.
This how-to rep an aloe that has developed along stem method makes sure your plant does not suffer root rot while it is undergoing some stress due to the repotting.
Keep newly repotted aloe inside your home where it can receive bright, indirect sunlight until signs of the roots recovering show.
Other Methods of Repotting an Aloe
Method 1: Repot Aloe to a Deeper Pot.
1. Get a pot deep enough to accommodate the long stem of the aloe plant.
2. Fill the deeper pot with compost grains.
3. Place your aloe plant in the pot.
4. Fill the pot with soil covering the aloe pot up to its first two or three leaves.
5. You may cut off some of the aloe’s leaves below the its stem. This will allow the stem to be buried deeper into the pot.
Method 2: Repot a Small Aloe plant
1. Remove the aloe plant from its container to expose the soil.
2. Remove all the soil from the container.
3. While removing the soil, cut the roots from the base.
4. Place the roots into the container. You can use the same or a new pot.
5. Fill the pot with fresh soil.
Method 3: Repot Medium and Bigger-sized Aloe Plant
This method disturbs less the root of the aloe plant.
1. Get a plastic container and make one big round hole at its base for drainage. Make sure the hole at the base of the pot is bigger than the size of the stem of the aloe plant.
2. Place a slit on the plastic container downward at the side to the bottom of the container drainage hole.
3. Make a small hole at the side of the container where you placed a slit. You will use this hole to thread and seal the container when you are done repotting the plant.
4. Wrap the container around the long-stemmed potted aloe plant. Fit the container on top of the plant’s long stem.
5. Make the container sit on the stop. This will look as though the container is hanging.
6. Start threading upwards through the small cut holes. This will allow the container to hold the soil.
7. After threading, fill the container with fresh soil.
8. Take care of this new structured aloe plant for about a month after which your aloe would develop sufficient roots to provide support for the upper container.
9. Cut and remove the lower pot.
Do not water your aloe plant immediately after repotting. Start watering your aloe after about two to three days. This is to allow the newly repotted Aloe Vera to settle down in its new container and allow it to recover from the stress due to the repotting.
Final Thoughts
You do not have to throw away your overgrown aloe. Take the time to choose a method on how to rep an aloe that has developed a long stem. It is important to follow the right way of repotting your aloe to prevent damaging or even killing the plant. Your repotting goal is to create a new plant out of your old aloe plant.
You can also cut some parts of your Aloe Vera stem with a sharp knife and repot. Before repotting, allow the cut stem to dry out. You should also cut off or remove the lowest two leaves because when you buy your Aloe Vera plant, they will eventually rot off.