
You just got yourself loads of beautiful and delicious chili peppers after a prosperous harvest and the first thing that goes in your mind is to dry them. Well, that is an excellent idea to have because drying chili peppers is a time-honored tradition.
If you have no idea where to start, then stick around because this article will explain how to dry and store your chili peppers. Drying chili peppers is a great way of storing and preserving the spice without sacrificing its taste.
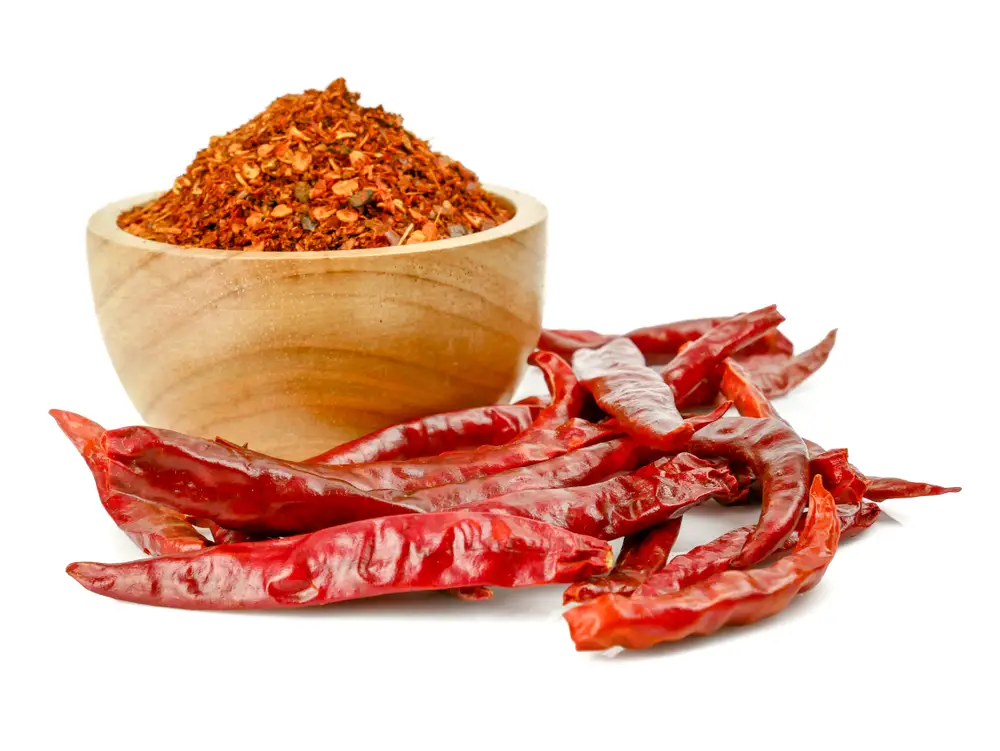
Dried chili peppers are versatile because you can use them as it is or rehydrate them for soup and salsas. There are endless cooking possibilities when we speak of dried chili peppers.
So, how do you exactly dry and store chili peppers?
How To Dry Chili Peppers?
Ultimately, there are 3 methods to dry chili peppers: air drying, dehydrator, and oven drying. All these methods essentially have no difference in terms of the finished product and it all boils down to what is available to you.
1. Air Drying
This method is basically allowing the chili peppers to dry in a room at a controlled temperature.
This method is perhaps the oldest one and it has been used long before dehydrators and ovens are invented.
Air drying is undoubtedly the widely available method for anyone who wishes to dry peppers provided that the right temperatures are met.
If you live in an area with a dry climate and a temperature beyond 20 degrees Celsius, air drying is perfect for you. It’s less costly compared to the other two methods. All you need is a room and some strings.
To air-dry your chili peppers, here are the steps you need to follow:
Make A Rista
A rista is simply an organized setup of chili peppers for drying. You will use a string to arrange your chili peppers by stacking them forming like a banana fruit from a tree.
The length depends on how long you want it to be so be creative about it.
Using a smooth fishing line is best because it offers the least resistance when you slide them in individual chili peppers.
Begin by tying a knot into one end of the line that will act as a lock preventing the peppers from sliding out of the line.
Use a needle big enough to penetrate the base of the chili peppers without tearing it apart and be sure to leave a space in between for good airflow.
Hang The Peppers To Dry
After making a rista, you can now hang them inside a room with good airflow and access to sunlight.
Make sure to leave a space between the rista to let the airflow around the room evenly. This process usually finishes for about 3 to 4 weeks but may vary depending on the humidity in the air.
You’ll know when the chili peppers are dried completely when they are already brittle. You can now transfer them to jars for storage.
2. Dehydrators
If you live in an area with high humidity and air drying won’t work, well this method is for you.
Dehydrators alongside oven drying are the quickest and easiest way to dry chili peppers. They work by circulating a moderate flow of heat through air screens.
The best thing about using dehydrators when drying peppers is that they can save you a lot of time making a rista.
Simply put the peppers on a drying screen and let the dehydrators do the work. However, a little cutting exercise may involve depending on the size of chili peppers.
To dry your chili peppers using dehydrators, here are the steps you need to follow:
Prepare Your Chili Peppers
It would be best to dry the chili peppers right after harvest. Carefully choose the healthy ones for better flavor.
Small chili peppers can be dried whole but the bigger ones should be cut to even the drying process.
Do not forget to use gloves when cutting chili peppers. It offers protection especially to absent-minded people from the heat of chili peppers when touching parts of our body.
Place The Chili Peppers Inside The Dehydrator
After preparing your chili peppers, put them on the drying screens and spread them out evenly. Set the temperature between 125 to 135 degrees Fahrenheit or follow the dehydrator’s manual’s instructions.
Rotate the drying screen occasionally and remove the chili peppers that dried first.
After everything has dried completely, you can put them in an airtight container for storage.
3. Oven Drying
If the two previous methods are not available and you have a lot of chili peppers you want to dry, then oven drying is your last option.
This method is your last trump card to make your dried chili peppers at home. Just keep your oven at a low temperature and wait for the magic to unfold.
For oven drying, here are the steps you need to follow:
Prepare Your Chili Peppers
The same thing with dehydrators, you still have to prepare your chili peppers by carefully choosing the healthy ones and cutting the big ones for even drying.
Except for this time, you are drying them using an oven. As a rule, always use gloves when cutting chili peppers.
Place The Chili Peppers On Baking Sheets
Spread the chili peppers evenly on top of the baking sheets and pop them in the oven for about 150 degrees Fahrenheit.
Do not close the door completely to allow the moisture to escape inside the oven.
Check on the peppers once every 30 minutes and remove the peppers that fried first. You may have to rotate the baking sheets for even drying.
This process will usually take about 1-2 hours until they are fully dried.
Once dried, carefully transfer them to an airtight container for storage.
How To Store Dried Chili Peppers
When storing your dried chili peppers, it is necessary to use an airtight container and store them in a darkroom.
This will keep their taste and color the same.
Do not allow the moisture to enter the container; otherwise, it will ruin the dried chili peppers.
Final Thoughts on How To Dry And Store Chili Peppers
What a lovely idea that having grown your own peppers you now decide to store most of your crop and save for whenever you need them for a special meal. How great is that – you grew, harvested, dried, and stored them later.
We wonder how many people can say that? It certainly has bragging rights attached!
Jenny Marie
Tribal Writer
Edited by
Patricia Godwin