
There are lots of hydroponic systems to choose from. In this article, we will examine the easiest one to make easier our understanding of the systems.
The DWC Hydroponics System works by dipping the plant’s roots in a deep water nutrient solution, aerated by the air pump. The net pot is suspended above a nutrient-rich fluid aerated by using an air stone and an air pump. The plant’s roots will go through the Hydro ton and net basket, growing directly into this solution and providing the plant with the right mix of nutrients and air to encourage vigorous root and plant development. The plants develop healthy and robust roots this way because they’re exposed to more oxygen.
We will show you how a Deep-Water Culture hydroponic system works and how you can make one for yourself in no time, even if you are a complete novice.
The simplest form of hydroponic System to create and maintain at home is Deep Water Culture (DWC). The plants in this arrangement develop with their roots directly submerged in nutrient-rich water.
This can be accomplished by doing our growing in large opaque storage containers or buckets for home gardeners.
Commercial growers employ rafts that float on a large bed of water and function like a conveyor belt, adding young plants on one side and moving them along until they’re ready to harvest on the other.
DWC systems are simple and inexpensive to construct because of the lack of moving parts and recirculating water.
In DWC systems, the water does not recirculate; instead, it sits in the reservoir for the duration of the plant’s life.
This means you will need to aerate the water to replace the oxygen lost by the roots.
How Exactly Does Deep Water Culture Work?
1. Basic Deep-Water Culture
The plant’s roots are dipped in a ‘deep water’ nutrient solution, aerated by the air pump, as the name implies. Submerged roots would rot and die without regular aeration, but when bubbles are present all of the time, exciting things happen!
The net pot is suspended above a nutrient-rich fluid aerated using an air stone and an air pump.
The roots of the plant will go through the Hydro ton and net basket, growing directly into the nutrient solution, providing the plant with the ideal ratio of nutrients and air to encourage vigorous root and plant development.
2. The Kratky Method
The Kratky Method is a deep-water culture without the use of a pump. This is the most basic sort of hydroponics, requiring very little equipment and no electricity.
You leave space for air between the surface of the water (nutrient solution) and the roots of the plants in this passive System.
Parts of the roots are exposed to the air for oxygen, while the rest of the roots are immersed in the solution for nutrients.
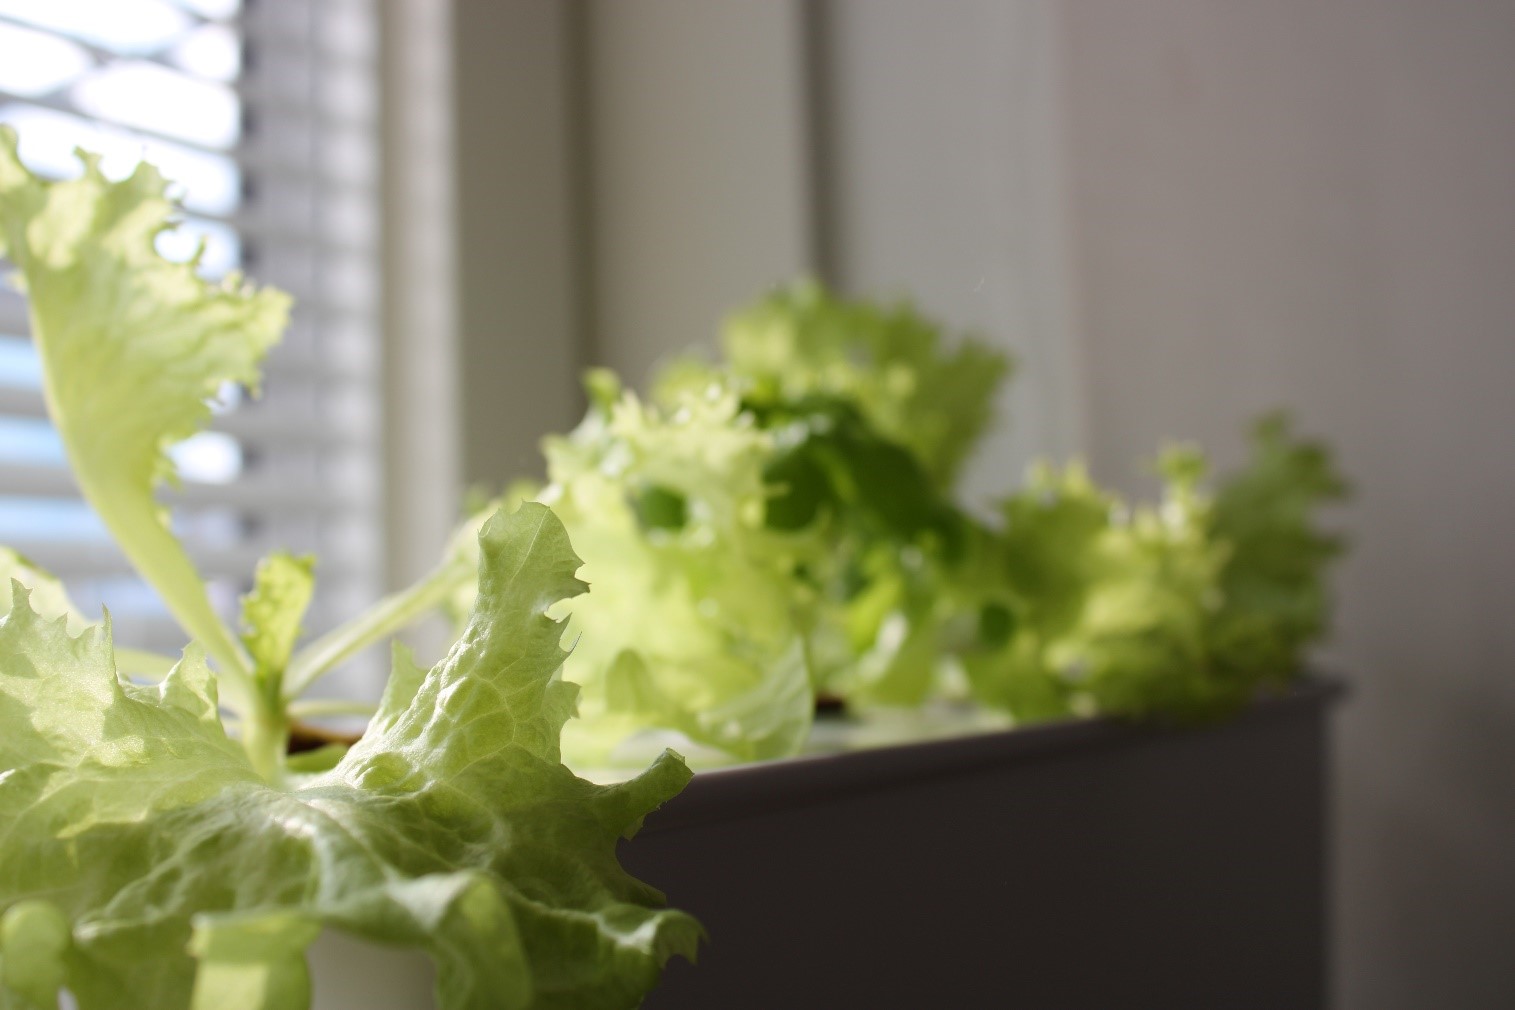
This strategy works best with leafy green plants that grow quickly, such as lettuce, spinach, and herbs.
It is ineffective for producing larger fruits, like tomatoes, peppers, and cucumbers.
To grow plants that tend to grow larger, you will need a large container and more frequent monitoring. For water and oxygen access to the roots, it is critical to ensure and maintain the proper amount of fertilizer solution.
3. Bubbleponics
Bubbleponics builds on the fundamental DWC concept by adding top-feeding/top-dripping, in which nutrient solution from the reservoir is pushed directly over the seedling’s roots.
When your plants have just sprouted, the top-feed considerably boosts growth in the first two weeks.
Many cannabis farmers utilize this method because it allows the roots to have easy access to water right from the start.
Bubbleponics gardeners unplug the top feed as soon as the roots reach the solution, but keep the water pump running in the reservoir 24 hours a day, 7 days a week to create a recirculating DWC system, which is our next form of DWC.
It worked out so well that they now install recirculation water pumps in the bottom of all their reservoirs.
4. Recirculating DWC System
If you want to cultivate numerous plants in multiple containers with a larger DWC system, you will need to set up a recirculating system.
Checking each isolated DWC system for pH, nutrient levels and topped up with lost water may be difficult and time-consuming.
Moving the water around not only expands the reservoir’s volume but also aids in the overall maintenance of nutrient density, pH, and oxygenation.
In numerous smaller systems, the continual water movement diffuses any mineral concentrations or acidity buildup across the entire water supply.
Pros of Deep Water Culture (DWC)
Plant roots are exposed to more oxygen, which promotes root development and overall plant growth.
Aeration improves water uptake, nutritional absorption, and cellular development significantly. It also prevents stagnant water, which can lead to rotting and pythium, among other root health issues.
Cons of Deep Water Culture (DWC)
There are a few downsides to every growing System! As the plants consume nutrients over time, the pH of the reservoir swings often.
Some system designs need you to lift the lid while plants are present in order to feed nutrients and water to the bucket, which can be dangerous to mature plants.
Plants require constant monitoring to ensure that the proper amount of fertilizer solution is available. Because regular aeration is necessary to keep the submerged roots alive, an air pump failure might harm plants.
DWC Hydroponics for Beginners
In contrast to soil-based fertilizers, the hydroponic System uses water-based nutrients.
You can grow plants anywhere; you are not required to choose a location with good soil or any other characteristics, as is the case with traditional cultivation methods.
In contrast to the traditional method, Deep Water Culture needs the plants to be immersed in water so that the roots can be seen and the growth of the plants can be observed.
When talking about soil, we often hear terms like diseases, pests, and fertility imbalances.
This occurs over time when the crops are cultivated back-to-back, but this is not the situation with Deep Water Culture since we may begin again every year while retaining the nutrients in the liquid solution.
How to make a DWC hydroponic System at Home?
Materials:
• Storage container or bucket
• Net pots
• Air pump with air stone
• Hard Water Liquid Nutrients
• pH Down
• pH meter
• Measuring beaker
• Pipettes
• Hole saw with arbor
• Drill
Method:
1. Find a Suitable Container for the System
Several people have found that larger storage containers and buckets work best for these systems since the more stable the nutrient solution, the deeper the water reservoir.
In smaller reservoirs, nutrient concentration and pH fluctuations are more common, and you will have to top up the water more frequently.
The light should not be able to permeate your container; otherwise, algae will grow rapidly in your water. A 55-liter opaque storage container that had been left over from another project was used.
Some would have wanted a deeper container in retrospect, but for these goals of growing leafy greens, this will suffice.
2. Drill Holes into the Lid of the Container
Plants will be grown in net pots, which have many openings for roots to go through.
The next step is to drill holes in the container’s lid where the net pots will be placed. The only specialized instrument you will need for this project is a hole saw – relatively inexpensive and straightforward to operate.
To avoid falling through, the net pots you use must be larger than the hole.
You can drill many holes if you are using a bigger container like the 55 liter.
It is crucial to plan ahead of time: space the holes 15cm apart to account for the size of mature plants. If you are using a 20l bucket, it’s best to drill a single hole in the center to create a single plant system.
Pro-Tip: When drilling holes in the lid, place some wood behind it to keep the saw from jolting and damaging the plastic.
3. Assemble Your Air Pump
Outside of the reservoir, the air pump must be kept. It will include a check valve, which will prevent the pump from sucking water back up if it is turned off.
You must maintain the pump above the water level if it does not come with one.
A piece of tubing should be used to connect the air stone and the check valve, with the arrow on the check valve facing the air stone.
Then, in the same way, attach the check valve to the air pump.
4. Fill the Reservoir, Add Nutrients and Adjust the pH
The System can be hefty when fully loaded, so plan ahead of time where you will put your container! Fill it almost to the brim with water, leaving 1-2cm at the top.
Then, according to the instructions on the bottle, add your hydroponic nutrients to the water. It might say to add 2ml of each A and B vitamin per liter, so then use a measuring cup to pour 110ml of each into your 55l container.
The pH of the water must also be adjusted. Measure the pH with a pH meter; tap water will have a pH of 6.5-7.5. A somewhat acidic nutrition solution is required for most vegetables and plants.
With a pipette and drops of phosphoric acid (commercially supplied as ‘pH Down’ for hydroponic application), you can lower the pH to 5.5-6.5.
When working with pH down, wear protective gloves and make sure the solution is thoroughly mixed after application.
5. Assemble the System
Connect the air pump to the reservoir and set the air stone inside. You are almost done once you’ve secured the cover on top.
It is easy to put your plants in the net pots; use some plants growing in Rockwool plugs. Seedlings grown in soil can also be used, however, we recommend using mess-free media.
A cleaner alternative is to use Rockwool plugs or hydro-ton clay pellets.
How Do I Maintain My Hydroponic System?
Your Hydroponic System’s done! Now it’s time to get to work on some maintenance tasks.
It is critical to keep the water level from dropping too low, especially when the plants are young.
As long as the roots are in contact with enough water, they should thrive.
Check the pH levels every time you add water to keep an eye on them.
Some folks top up their water using an old 2L water bottle, so they know precisely how much water they are adding.
They put 4ml of each A and B nutrient into the reservoir for every 2L of water they utilize.
Every 14-21 days, clean the reservoir and refill it with fresh water.
Final Thoughts
There you have it, how to make a simple hydroponic system at home. Some of the items may already be in your home; for example, an old storage container or bucket might be reused in a worthwhile effort to begin growing from home.
If you don’t have a lid, cut holes in a sheet of polystyrene packaging to allow plants to grow.
The complexity of some of the systems on the market can be bewildering when you are first getting into hydroponics. That is why we advocate beginning with the basics.
The DWC method allows beginners to do just that – begin with the basics. They are low-maintenance and can be used indoors or out as long as there is enough light.
Remember to enjoy the benefits of what you’ve accomplished and also to praise yourself for your accomplishments and success in what could be quite a bewildering situation – you did good!
Jenni Marie
Tribal Writer
Edited By
Patricia Godwin