
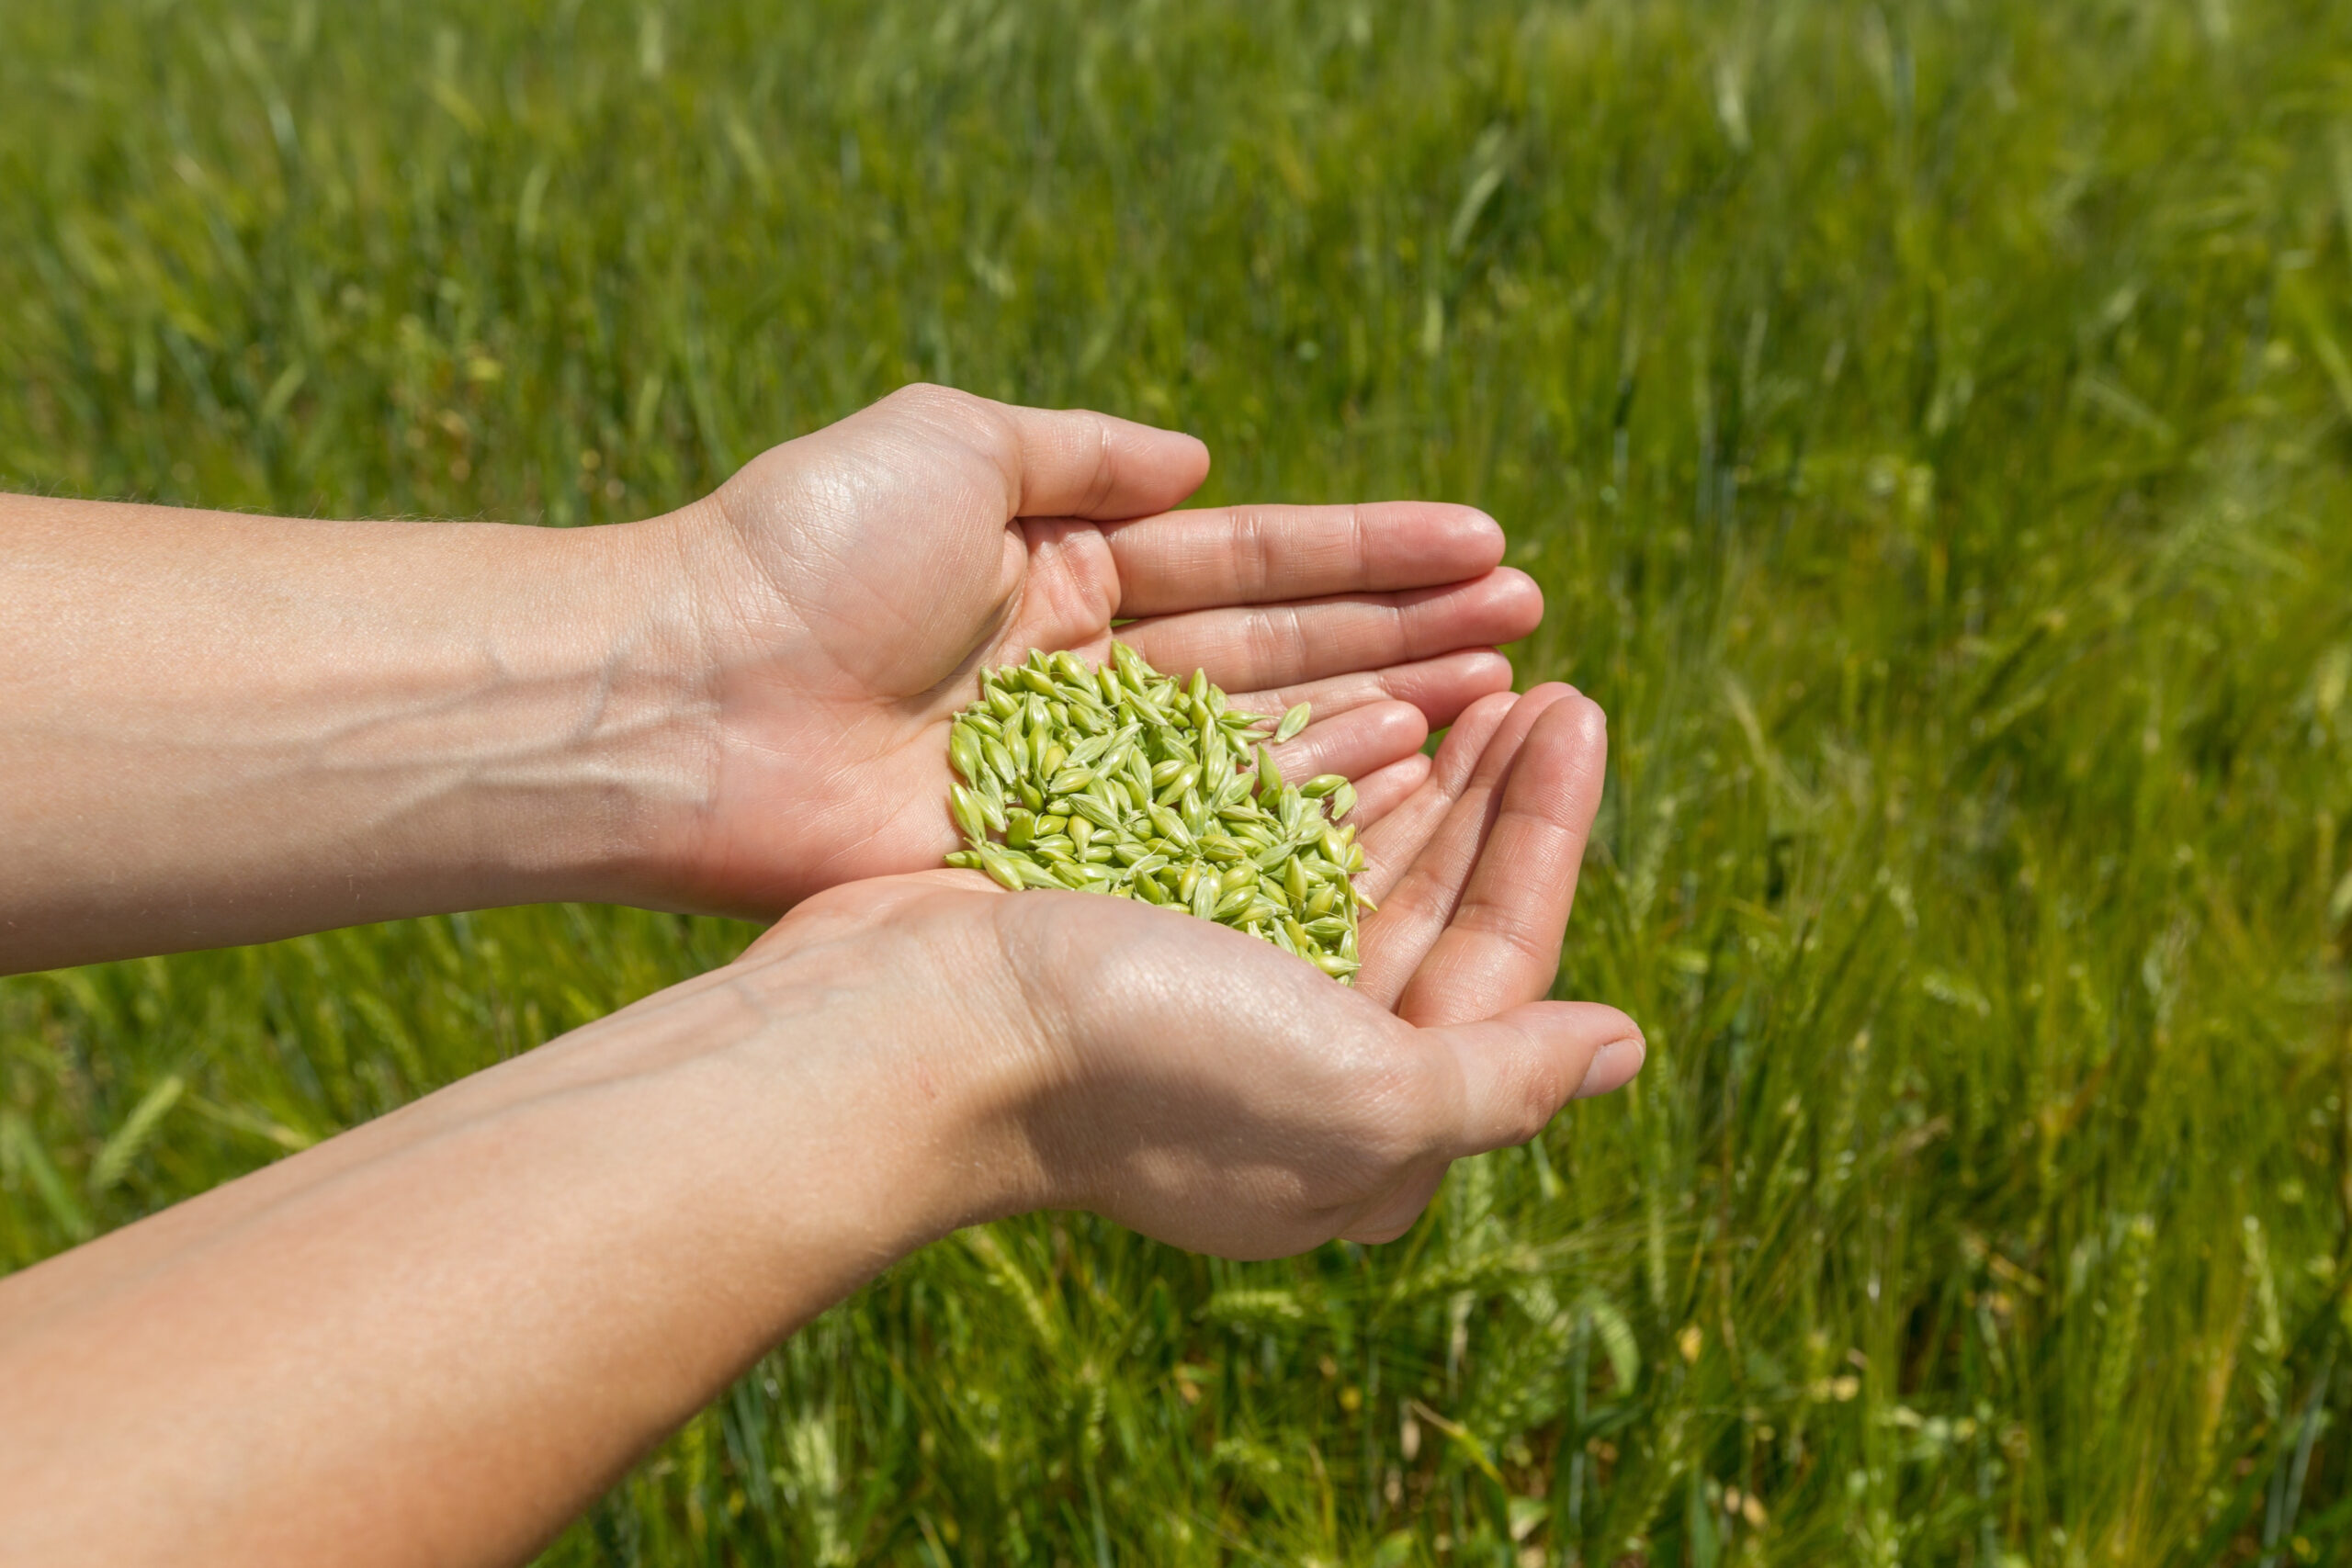
While it may be tempting just to put some grass seed in your yard and call it a day, it’s not the most effective method of seeding your lawn.
Uncovered grass will grow if it isn’t eaten by birds, roasted by the sun, or washed away with rains. By protecting your grass seed, you greatly increase the likelihood of it germinating and thriving into healthy new plants.
So, Will Grass Seed Grow If Not Covered?
Yes – most of the time. However, they will be weak and may struggle to get their roots into the ground if they are not protected from the elements.
It is far preferable to cover the grass seed than it is to toss it around simply; although it may appear to be more work at first, it will enhance your germination rates and result in far healthier plants in the long run.
If you are re-seeding barren sections of your lawn, it will be necessary to cover the grass seed with some mulch to prevent it from germinating. The seed will be exposed to the elements if it does not receive shelter from existing grass.
If you already have some grass in your yard, the seeds may be a little more protected if the grass is not too sparse or dry.
Raking and covering the seed also helps disseminate it throughout the soil, ensuring that it does not become clumped up to the point where the young seedlings are battling each other – another factor contributing to the development of weak plants.
What Should You Use to Cover Your Grass Seeds?
If you’re thinking about reseeding your current lawn, you won’t have to worry about protecting the new seeds because the grass blades will offer adequate coverage.
However, if you wish to plant seeds in a different location, you must make sure that they are shielded from the sun and rain.
It would be preferable if you were also cautious not to cover the seeds with a heavy layer of soil since seeds require sunshine to grow. As a result, just a thin layer of coverage would be required for seeds to germinate successfully.
It’s also important not to distribute seeds on the dried-out ground since it won’t supply the nutrients essential for the seeds to flourish. If you have such ground, you must first loosen the soil with a rake or an aerator before you can begin planting.
You may also cover the seed with a layer of paper mulch or dirt, which will offer the nutrients needed for the seed to thrive. Seeds can develop in a fruitful environment thanks to the assistance of these amenities.
If you have prepared your area before sowing, then covering the seeds will not be a major issue for you in the future. You just need to rake the earth to cover the seeds lightly; however, you should make sure that there are no more than 14 inches of topsoil on top of the seeds.
Even if you haven’t prepared the soil, you can cover your seeds with a thin layer of straw or sawdust mulch to protect them from the elements.
When arranging the straw, avoid clumping it together in one spot so that it does not obstruct the sunlight from reaching the seed underneath.
Furthermore, it would be preferable if you utilized sterile straw mulch to cover your garden. Because it contains weed seeds, it is advisable to discard the hay as soon as possible.
Mushroom compost, which is extremely nutritious and aids in the healthy development of seeds, can also cover seedlings.
Topsoil or Compost
It should go without saying that, while you may plant straight into your dirt, you can also purchase topsoil to cover your seeds with. This will have more nutrients in it, and it will also provide the seedlings with greater structure and protection.
The same is true for compost, which will deliver a burst of nutrients, typically in higher quantities than topsoil. The disadvantage is that it will be less protective and will have a lower moisture retention capacity than before.
In many cases, a combination of the two is the most effective approach to cover your grass seeds and guarantee that they grow and survive. It is possible to purchase a bag or two of topsoil from any garden shop, as well as to purchase or produce your compost at home. Simply combine the ingredients and sprinkle them over your seeds to protect them and give them a head start in the growing season.
Straw Mulch
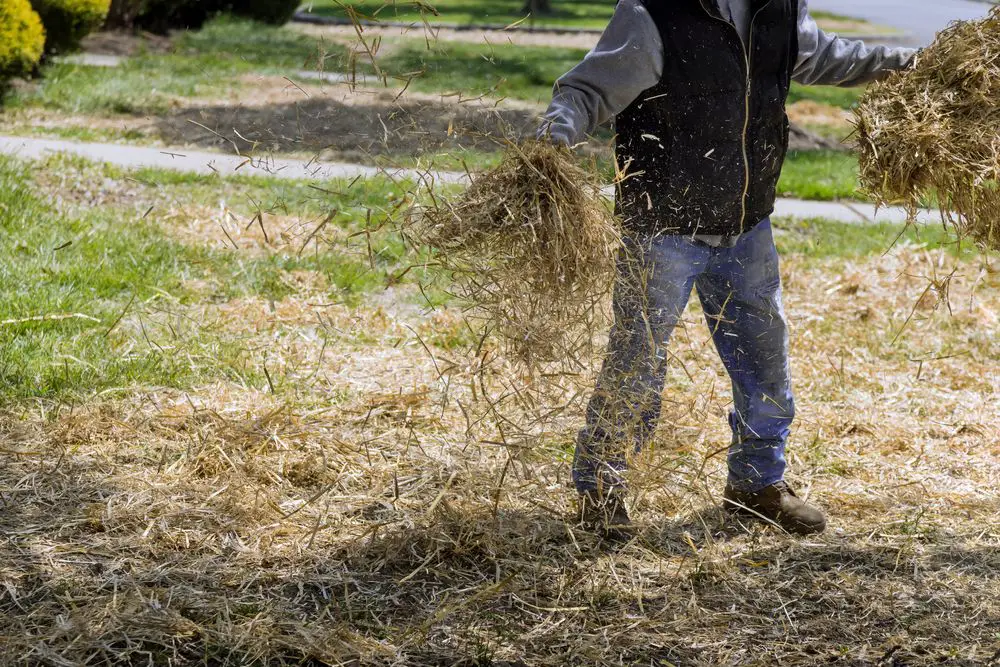
Another alternative for protecting your seedlings is to cover them with a thin layer of straw. The straw that does not contain seeds (which may sprout and produce weeds on the new lawn) and only a very tiny amount of straw on top of the seeds is all you will need.
The seedlings require adequate air and light exposure, and they must be able to force their way through the protective covering as they get larger and more vigorous.
You may rake the straw up and remove it once your lawn is established and the seeds have germinated and rooted themselves properly, or you can simply mow it on top of the grass if that is more convenient for you.
In any case, you will have a healthy lawn with plenty of germination and seedling.
Check to see whether any seeds are growing beneath the straw when you initially set it down to avoid disappointment.
To check for green sprouts, just insert a cane or stick under the edge and gently raise it to reveal them. If you do not observe any germination after a month or two, you may need to thin the layer a little bit because it may be excessively thick.
The Reasons Why Seed Should Not Be Exposed to the Environment
Leaving your grass seed exposed to the outdoors is not a good idea for a variety of reasons. Germination is the seed sprouting process and can take anywhere from a few days to a few weeks to take place depending on the seed.
Certain conditions must be met by any sort of seed for it to germinate. Not only does the soil temperature need to be the optimum temperature for germination, but the most important component of germination is the availability of enough moisture.
1. The Development of Grass Seedlings
The seed must be wet and warm to sprout. Grass seed will not sprout if there is insufficient water, and most seed will dry up if there is no mulch or top-dressing to protect it from the elements.
2. The Development of the Roots
Even if your seeds germinate, they may have difficulty establishing a strong root system, making your grass seedlings more vulnerable to disease and insects.
A lawn with shallow roots also makes it difficult for grass to obtain moisture and nutrients beneath the surface; as a result, your mower will pull your seedlings up instead of cutting the blades.
3. Grass Seeds vs. Bird Food
Leaving seeds exposed can also make them an easy food source for birds, who will take advantage of the situation. Covering them helps to keep them out of the way of wildlife and increases their chances of avoiding being eaten.
The prospect of spending good money on grass seed just to have it wind up as someone’s food is quite frustrating. Bird food is far less expensive than grass seed.
4. Prevent the Occurrence of Runoff
A severe downpour might completely wash away your grass seed. You should keep in mind that grass seed takes between two and four weeks to germinate, and during that period it will not have roots to hold it in place if it rains.
Due to the lack of protection for your grass seed, the seed can be readily swept up and moved to a sewer grate or other low spots on your land where you didn’t need any additional grass seed.
So, What Is the Best Way to Plant the Seeds?
It is quite simpler to plant grass seeds than you would imagine! In this part, we’ll talk about how to properly sow the seeds.
1. Invest in some High-quality Seeds
Buy some high-quality grass seeds initially if you want to have the luxury of boasting about having the greatest lawn in the neighborhood. In most cases, the expense of lawn upkeep will outweigh the cost of seeds purchased for your lawn. As a result, choose your seeds carefully!
2. Preparation of the Soil
To prepare the soil to maximize the germination and growth rates of your grass seeds, you’ll have to put in some effort and sweat equity to get the job done.
To begin, remove the area of any plants that you do not wish to be there. Remove any old plants, roots, and trash from the area, and leave a lovely space in their place.
It is possible to complete this task using several garden equipment; however, a spade may be a bit excessive because you do not want to shovel away your topsoil aggressively.
Once you’ve created a place for your grass seed, you can begin actively preparing the ground to ensure that your little seeds have the greatest possible chance of survival in their new environment.
In certain cases, aeration of the soil will be sufficient (if you are going to add a cover on top instead of raking the seed into your existing soil).
If you want to aerate and loosen the earth gently, you can use a garden fork or other pronged instrument. This helps to alleviate compaction difficulties while also making it easier for the grass seed to establish a strong root system in the soil.
It also delivers oxygen to the soil and breaks up any plant debris that may be interfering with the grass’s ability to root. Since clay soils and locations with high foot traffic are more prone to be compacted, aeration will be more beneficial in these situations.
You will discover that aerated soil has enhanced water absorption and that it aids in the development and anchoring of your grassroots. Additionally, aerating your soil increases the efficacy of the actions you can perform following aeration, such as fertilizing or overfeeding your plants.
If you intend to rake your grass seeds into the existing ground, you will need to spend more time loosening and aerating the soil than you would normally. If you intend to place a cover on top of them, you will not need to spend as much time on this (though the more you do, the better your results will be).
Aeration is essential for the seedlings to establish roots in the existing ground. This will result in much stronger plants that will require less watering (since their roots will be able to reach deeper into the ground) and will be more resistant to being trodden on.
Aeration of the Core
Aeration is particularly beneficial in yards with thick clay soil or yards with a lot of foot activity. Lawn aeration will help your turf loosen up, allowing for greater seed-to-soil contact and improved water penetration and ventilation (which improves root development).
In addition to providing a place for grass seed to germinate under the soil surface, loose soil and aeration generate pockets that allow for improved root growth.
Don’t bother renting a core aerator for minor projects; instead, use an iron rake to disturb the top layer of soil just enough to provide some nice contact points for your grass seed.
3. It’s Time to Plant!
Spread the grass seeds in tiny places using your hands or a hand or lawn spreader, being gentle with them. At this point, if you have a vast region to cover, you may want to consider sophisticated methods such as hydroseeding.
Keep in mind that if you plant too many seeds too close together, they will have to compete for moisture and nutrients, resulting in thinner and weaker grasses in the regions where the seeds were planted.
When it comes to estimating, we recommend that you plant around 16 seeds per square inch of your grass if you aren’t a pro.
4. Cover the Seeds
It’s time to cover your grass seeds for the winter. You may use any type of mulch or just rake the dirt to meet your specific needs. Whatever you do, be sure that you do not completely cover the seeds with a heavy layer of mulch or dirt on top of the seeds.
It’s worth noting that there are a variety of seeding formulae available on the market that are meant to hold seeds in place while also conserving moisture.
5. Water the Seeds
Drink plenty of water, and by plenty of water, we mean daily! You must water the seeds daily until the grass reaches around 2 inches in height. In addition, if you see that the garden bed has grown parched, water it quickly to revive it.
Still Not Going to Cover Your Seeds?
If you are very lazy and don’t want to go through the trouble of physically covering the seeds with mulch, a simple solution is to get an all-in-one brand of seeds.
There are a variety of all-in-one products available on the market that combine mulch, fertilizer, and grass seed in one convenient package.
Scott and Pennington is a firm that produces coated seed treatments, which assist to keep the seed wet for a lengthy period after it has been planted.
However, keep in mind that you should be cautious when putting your money into these sorts of items because, in most cases, half of the bag does not even include grass seeds.
It’s important to constantly examine the label of the items since it reveals the proportion of the seed product compared to the percentage of the product that is fertilizer or mulch.
A little suggestion for you: keep the soil wet to prevent the seeds from drying out!
Final Thoughts on Will Grass Seed Grow If Not Covered?
So, if you’ve been wondering whether grass seed will grow if it isn’t covered, you now have an answer.
Plant your seeds about a quarter of an inch deep beneath a loose covering of dirt, compost, straw, grass clippings, or mulch, and allow them to germinate for one to two weeks before harvesting the harvest.
This layer will protect and nourish the plants, ensuring that they have the greatest possible opportunity of developing into a healthy new lawn for you in the future.
Jenny Marie
Tribal Writer
Edited By
Patricia Godwin