
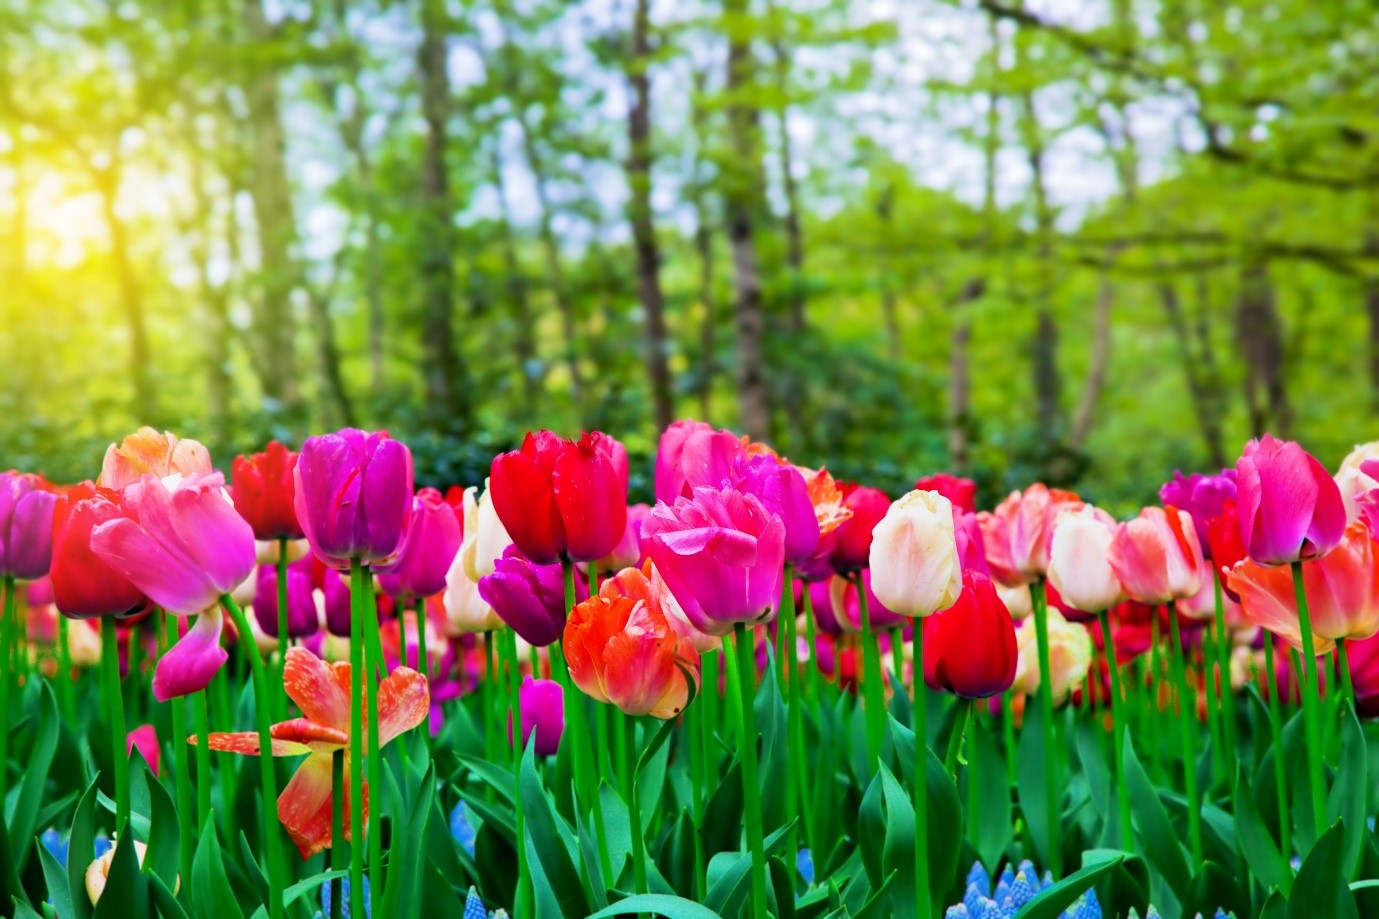
1.Jumpstart Spring by Growing Tulip Indoors
In the cold, miserable weatherwise days of winter, when it seems, there’s nothing of any interest to do. Spring always seems light-years away. You know that you can grow these Spring Bulbs – long before they bloom in your garden? Container gardening – growing tulips in pots – is a relatively simple task and can be done for a showy result. You can also have flowers in the house during winter, which demonstrates a very nice accomplishment.
2.Growing Tulips Indoors: Forcing
Forcing them doesn’t mean we will make them do something they don’t want to do. It just means we’re going to make something happen over which they have no power. To do this to these bulbs means we will have to freeze them for a while.
Therefore, you’ll need to purchase your tulips in early Fall and transfer them to paper sacks and then remember while you are planning to grow these indoors, to have a successful display, you’ll need to store them for a period of about 12 to 16 weeks in a place with a very low temperature.
3.Growing Tulips Indoors: Planting
Select a large pot with suitable drainage holes, then half fill that pot with compost. Take your previously chilled tulips with their pointed ends upwards snd then you can cover them with compost. Furthermore, the tips of the bulbs should be just visible. Keep them in a cool dark place, and in about 6 – 8 weeks, the tulips will bloom.
4.Growing Tulips Indoors In Water
A fascinating twist – I think – on growing tulips. Take the chilled tulips bulbs – the bulbs have been chilled for several weeks beforehand. As we already know, the bulb must be chilled before planting. Take a small glass and grow them in the water! You can partly fill the glass with glass beads.
Have the bulb sitting in the neck of the glass with just its roots touching the water. Maintain the water level at one inch below the roots. Keep this in a cool and dark place until four to six weeks have passed, and when a shoot finally appears, move everything to a bright and warm place where the tulip will grow.
5.How to Grow Tulips in Water
Having learned how to grow plants in water and indoors, why not plant some in the Fall. The pot you choose must have drainage holes, and you must half fill it with compost so that the bulbs’ tips are just visible. Keep them in a cool, dry place – such as a garage for 6-8 weeks until the little shoots appear now, over the whole thing, into a bright warm room where your tulips will bloom 2-3 weeks after which, the shoots appear, then bring them into a bright warm room where your tulips bloom.
6.Growing Tulips Indoors: Planting
Choose a pot with the whole in, and half fill it with compost. Place your previous chilled tulips with their point ends upwards. Some of them should be covered in compost and ensure that the bulbs’ tips are just visible. Find a nice dark, cool place to store them – say the garage for 6-8 eight until the shoots appear.
7.Growing Tulips indoors in water.
Still, more on growing tulips in water is, as before, the tulip bulbs must be chilled for several weeks before planting. Choose a small glass so that you can partly fill the glass with beads or stones, or you can purchase a particular type of vase.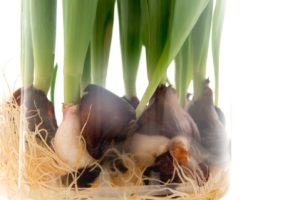
The vase’s neck should be the right size for the bulb to sit in, with its roots just touching the stem; keep the water level always about 1 inch below the base of the bulb. Now put it in a cool dark place and let it stay there until its shoots appear, then move it all to a bright warm spot where tulips will bloom.
8.How to Grow Tulips in Water
An interesting twist on growing tulips in water, indoors; we’ve gone over the basics, so why not give it a try.
Tulips Are Best Grown Alone
If you’re growing them in pots, generally, it is much better if you grow each one of them alone. This is because they may not survive a typical Summer without being lifted and dried off after flowering.
Stand Alone or Combinations
If you don’t want just one color and type of bulb, then maybe, consider sowing grass seed on the surface soil but, once you’ve planted the bulbs, which will create a swathe of green as the bulbs emerge, any visible empty pockets of soil should be covered – avoided – unseen.
However, you can achieve some great combinations. These can also help hide the bulbs’ possible unsightly appearance after the flowering has finished, and they are starting to look a little straggly.
Are you familiar with Variegated dwarf ribbon grass? For example, it makes an excellent pairing with the deep burgundy Tulipa Queen of Night. This grass makes a terrific foil for the almost black tulip flowers and will last long after all the blooms have gone.
Planting in Pots
If you’re going to plant a single layer of bulbs, fill the pot to within four to five times the bulb’s length from the top of the pot.
In a pot, you can plant the bulbs closer together than you would in the ground – thus leaving them around 1 cm apart if they are small tulips, but a bit more space for varieties with larger blooms.
The next thing is to fill the rest of the pot with compost up to around three cms from the rim’s top. Stay aware here that tall bulbs, in shallow containers, don’t generally succeed.
Make Sure Soil is Well Drained
When planting, try to ensure that the soil is well-drained.
Add a handful of grit to multi-purpose compost at planting time and place small stones or broken pieces of polystyrene trays in the base, and this will warrant drainage holes in the container.
Stand the pot on feet to stop Autumn and Winter moister seeping upwards from the ground and rotting the bulbs.
Keep Them Protected From bad Weather.
In severe Winter weather, move all the pots closer to the house to escape the worst of the wet excess and that chilling, howling wind.
When the Weather becomes slightly warmer in Spring, then move the pots out into the open and don’t let the pots dry out, or you’ll be left with stunted foliage and low-quality flowers.
Water Occasionally
If the Bulbs are in full leaf growth, then the pots should be watered from time to time when the compost feels dry.
Give Them A Rest
After they’ve finished blooming, give them a nice rest. Please put them in the greenhouse for a dry rest until all the preparations for blooming start again!
Patricia Godwin